Design Sticker with GIMP | GIMP Tutorial
Hi friends all on this occasion I will share the tutorial "Design Sticker with GIMP". GIMP is a graphical or image editor application that is open source and of course freeware aka free without buying licenses or looking for crack, patch or keygen, simply download, install and use. Gimp can also be used on Windows, Linux and even Macintosh operating systems from Apple.
The tutorial that I provide is suitable for you who just learn about editing make Sticker / Logo. For those of you who want to directly try it, please see tutorial below.
Design Sticker with GIMP
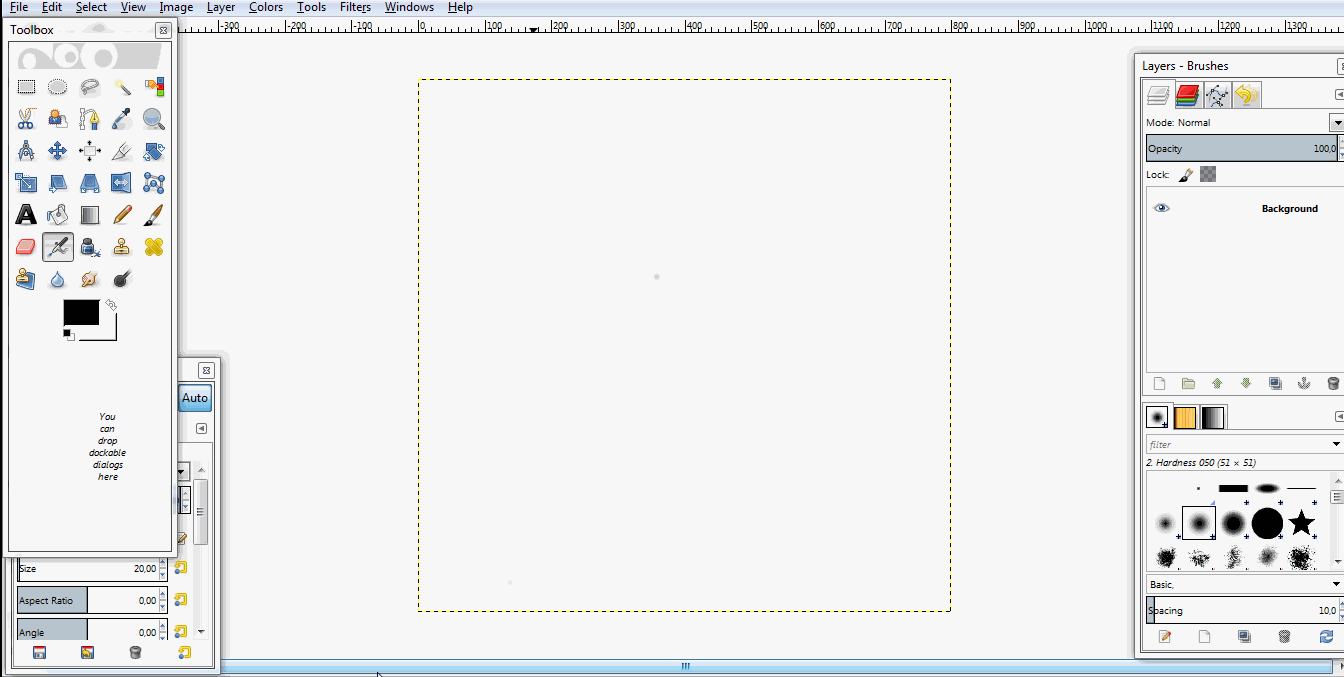
First make first Backrgroudnya by click File> New> set Width: 800 px and Height: 800 px, then click OK.
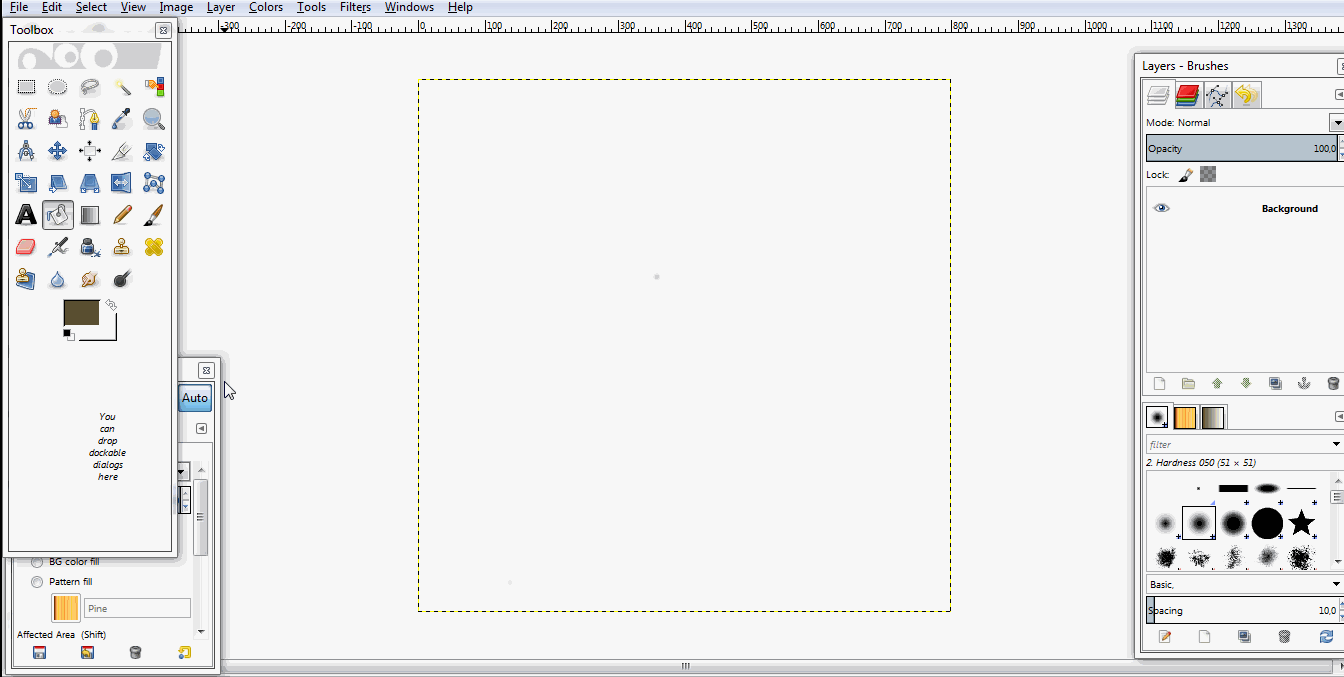
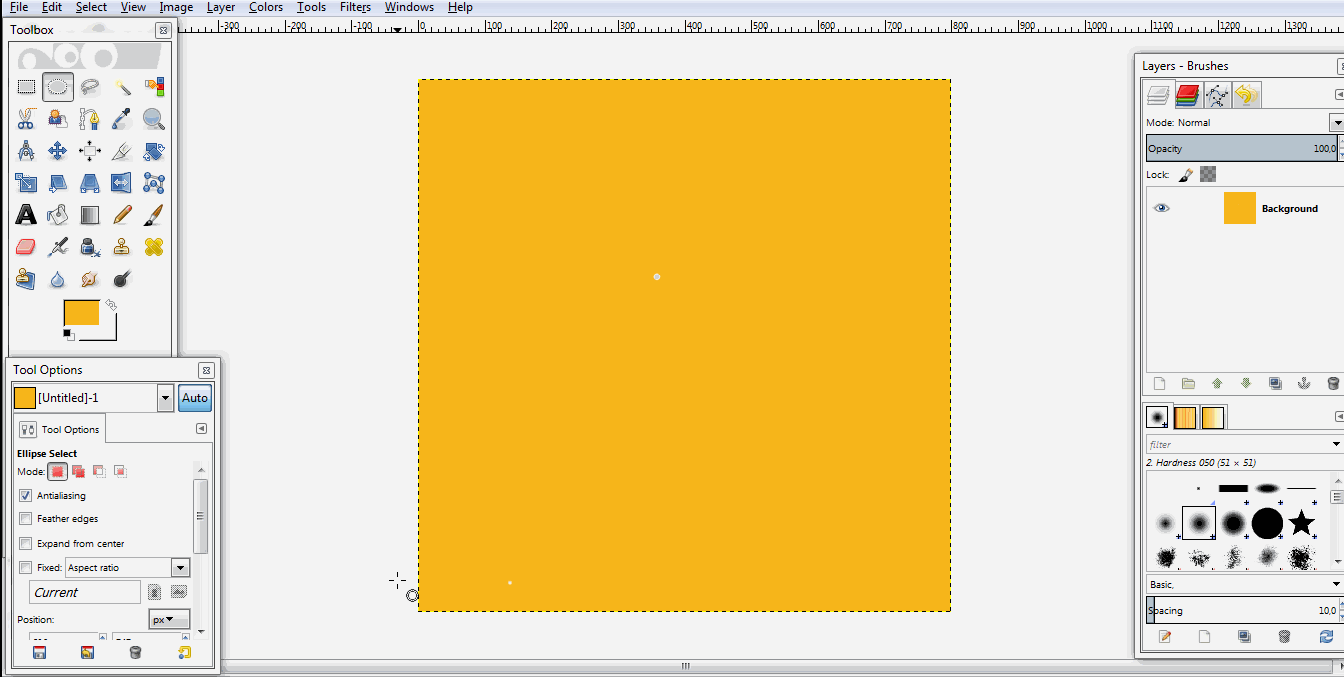
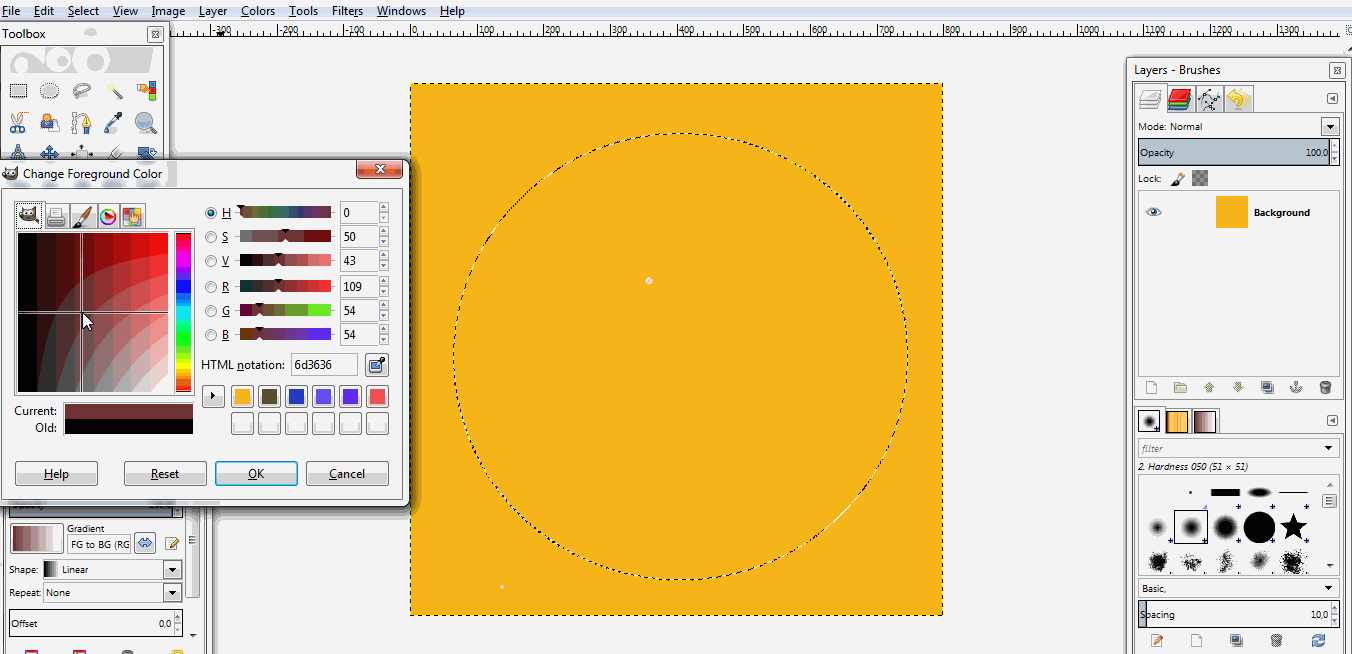
If you have set the background color according to your wishes, for example I give yellow color. The trick please select the color according to your wishes, then click Bucket Fill Tool> then please click on the background like the example below.
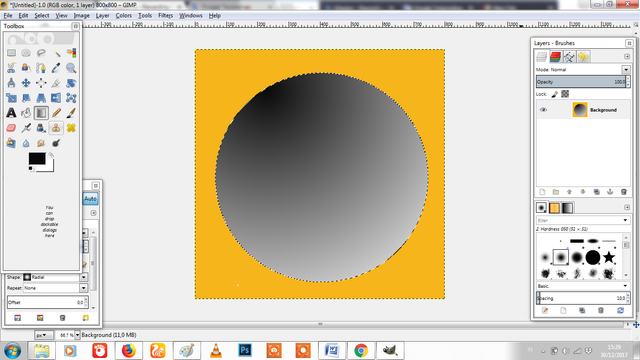
Next create a circle for the start step of designing sticker. How to click on Ellipse Select Tool and make a circle like the example below.
Next we add the Gradient, by setting the Gradient color to Black, then select the Gradient Type: FG To BG, And select Shape Type: Radial. and paste the Gradient as shown below:
The result:
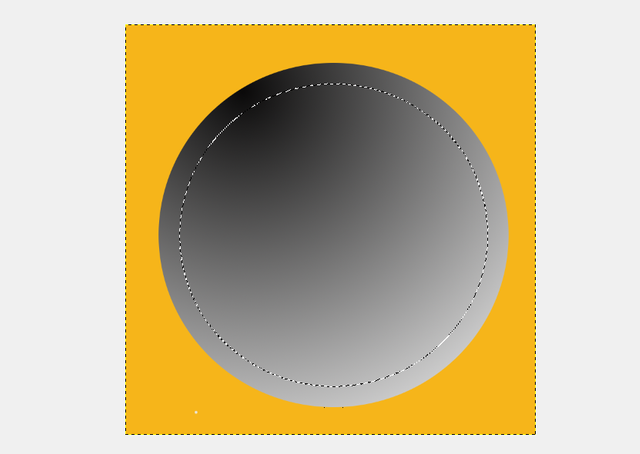
Next add Shink Selection by click on Select> Shink and set 40 px as shown below, then click OK.
The result:
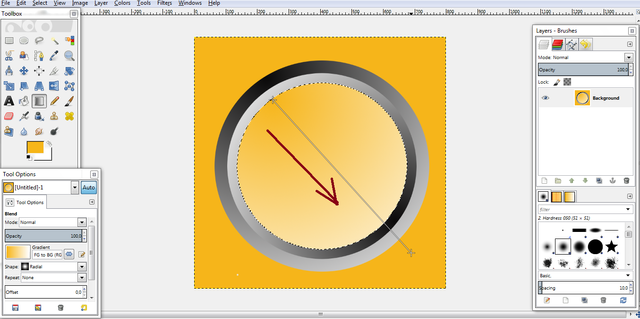
If it is, add another Gradient, and drag it from a different direction
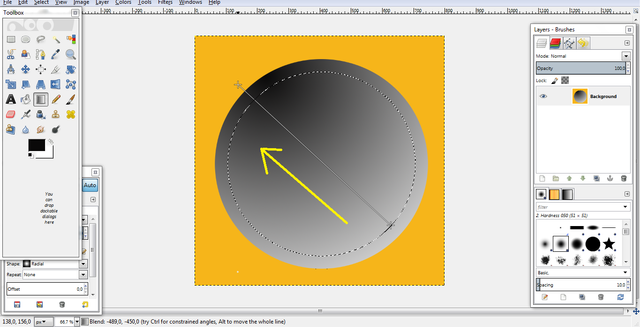
The result:
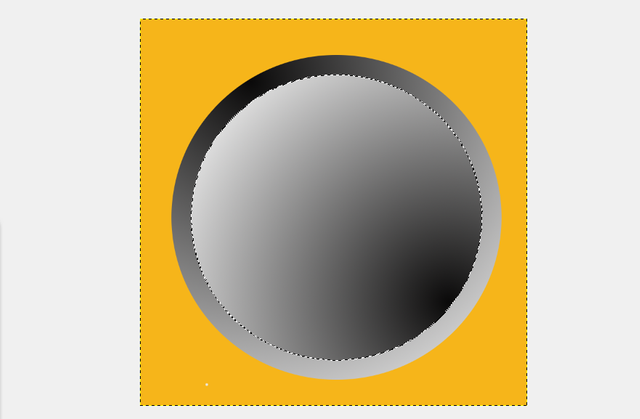
Next add the Shink Selection back as an example in point 5, by clicking on Select> Shink and set 30 px, then click OK. Later will see the selection as shown below.
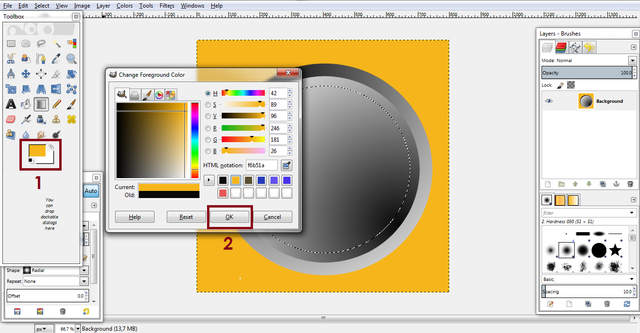
Next add the Gradient back into the selection above by selecting the Gradient color equal to the initial Background "Yellow Color"
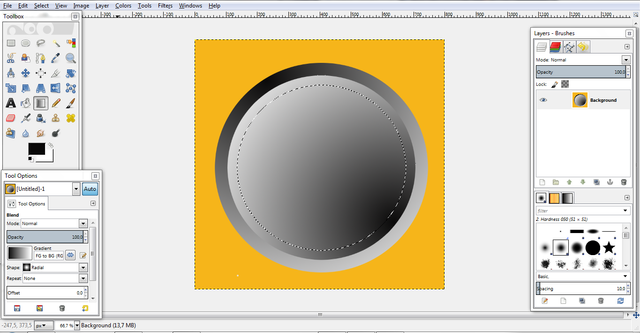
Add the Gradient to the selection by pulling it in the direction below.
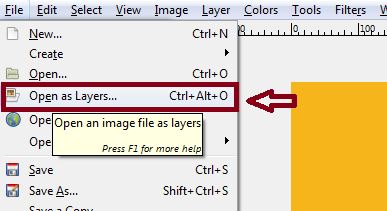
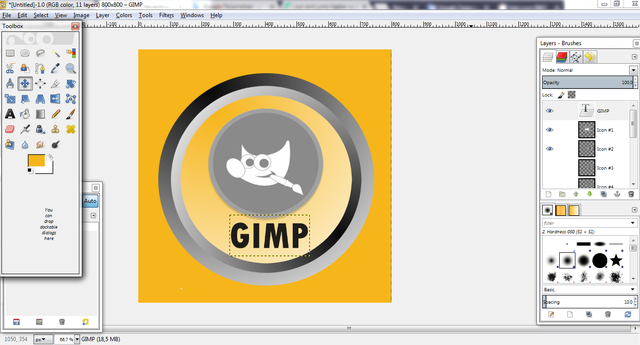
Next add the icon, click File> Open As Layers. Then select the Icon / photo you want to add.
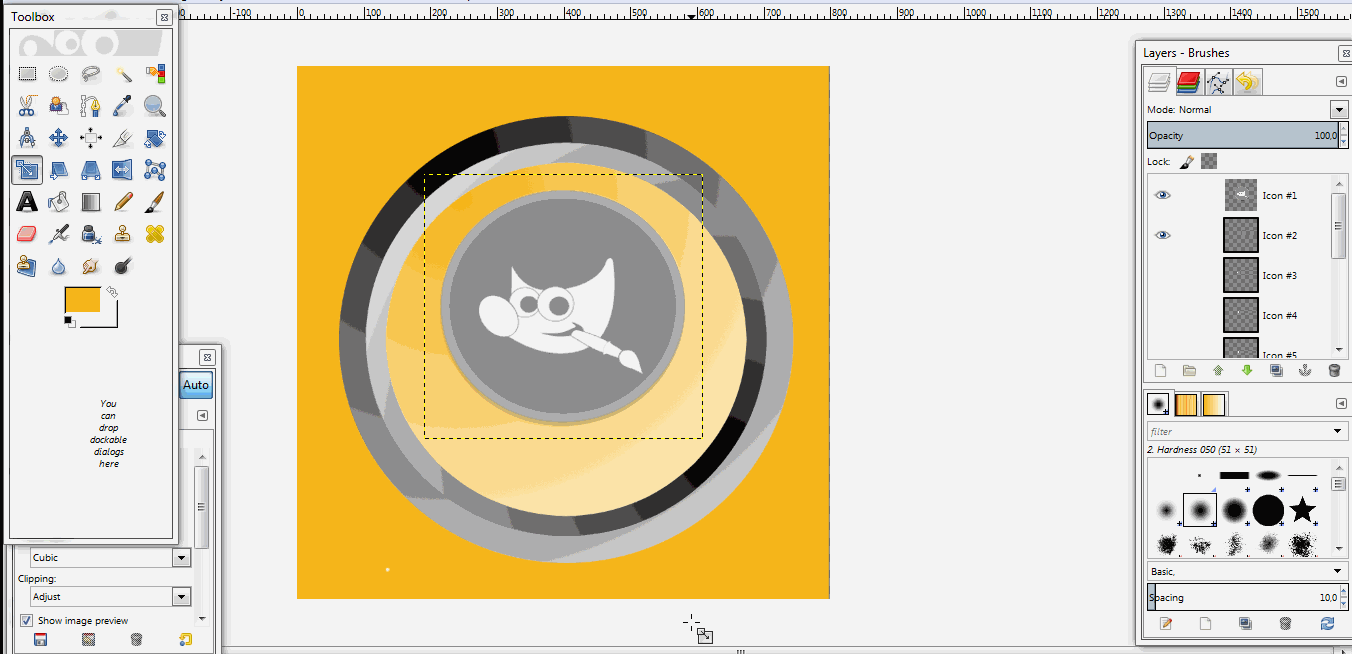
Then set the location and size of the icon with "Scale Tool" like the example below. If the size is as you wish, then click "Scale".
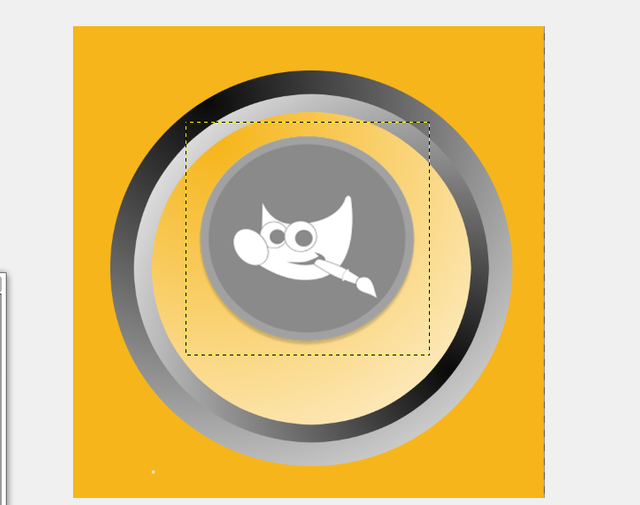
The result:
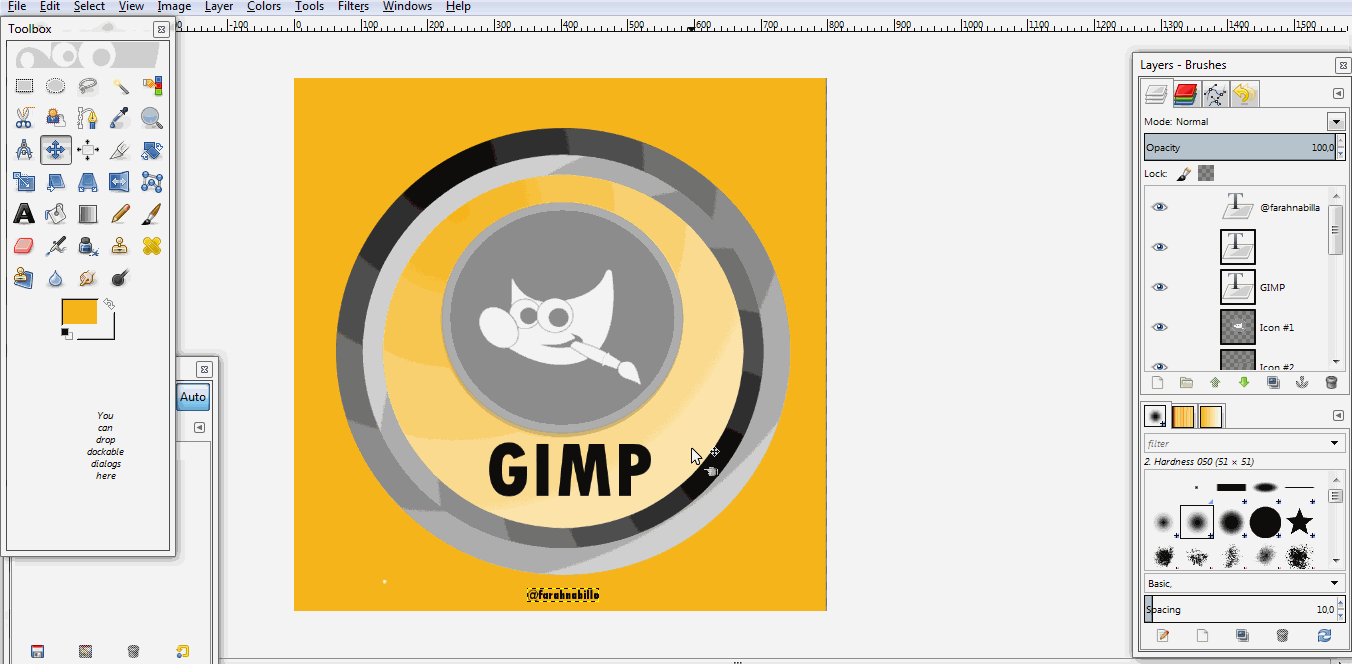
Then add Text under Icon if needed. To add it, please click TEXT feature and select Font Type, Font Size, and Font Color as you wish.

Write the Text and place the Text as you wish. Like the example below, I added the Text "GIMP".
When editing is done, to export the image to JPEG, GIF, PNG and others. Click File> Export> Set File Name> Set File Format> Set File Storage> Last Click "Export" As the example below.
For the "Design Sticker" I made, please see below:
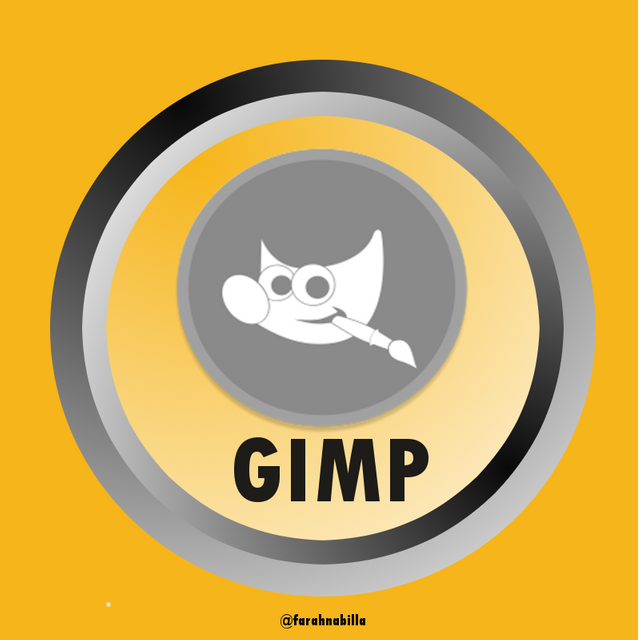
You can create your own needs to create a cooler than me
Hopefully my tutorial above useful for all of you, and I say thank you guys who have visited this post.
Thank You
Posted on Utopian.io - Rewarding Open Source Contributors
Thank you for the contribution. It has been approved.
You can contact us on Discord.
[utopian-moderator]
Hey @farahnabilla I am @utopian-io. I have just upvoted you!
Achievements
Suggestions
Get Noticed!
Community-Driven Witness!
I am the first and only Steem Community-Driven Witness. Participate on Discord. Lets GROW TOGETHER!
Up-vote this comment to grow my power and help Open Source contributions like this one. Want to chat? Join me on Discord https://discord.gg/Pc8HG9x