Arduino Project #1 - " Bluetooth controlled text display on led matrix "
.jpeg)
Image source
Bluetooth - is a short-range wireless communication technology used for transmission of digital voice and data that supports multipoint applications.
Nowadays bluetooth technology was indeed very helpful to us because it makes our daily activities easier and convenient. It sometimes used for home automation by sending commands to a certain microprocessor to perform a task. It is also used to transfer files to multiple devices such as mobile phones, laptops and etc.
Though it is little by little goin to be phase out due to its slow rate in terms of data transfer, It has a big contribution to our technology before WIFI, WiMax, Zigbee and etc exist.
Brief history of bluetooth
The term bluetooth was proposed by Jim Kardach. It was taken from the 10th century Danish King Harald Blatand who unified Denmark and Norway.
It's symbol/logo is a bind rune merging the Younger Futhark runes (Hagall) (*) and (Biarkan) (B), King Harald's initials. Hagall means hail and Bjarkan means birch.
Summary video of the project ✌
✍ Project's Objective:
✔ Identify the basic parts of this project
✔ Discuss the function of each parts
✔ Know the arduino code used in this project
✔ Built your DIY(Do It Yourself) project
⚡ FIRST THING FIRST - MATERIALS NEEDED
➤ Arduino Uno
➤Breadboard (Circuit connections)
➤Jumper wires
➤Bluetooth module (HC-06)
➤Max7219 (8x8 Led Matrix)
➤Dc source (4.5 - 5 volts)
➤Android app (BT Terminal)
➤Mobile Device (Powered by Android)
⚡ Software
◾Arduino Droid (Android App) - download here
I'm using this Arduino IDE Android app because it is very convenient and most importantly portable/easy to carry since it's installed in our mobile units.
Short description of the materials
Arduino Uno - It is a type of microprocessor board which contains (6) analog inputs and (13) digital outputs and can used to perform a certain task/function.
Breadboard - It is a circuit board used for simulation.
Jumper Wires - It is a type of simulation wires for convenient purposes.
Bluetooth Module - It is used to communicated with different devices and also receives a command through it to perform a function.
Max7219 - It is an array of LEDs with a driver which is used to display characters and symbols.
Dc Source - It is a power supply used to power the arduino board. Usually around 4.5 - 5 volts range.
BT Terminal - Android app - It is an Android app that is used to communicate with bluetooth module and arduino board.
Mobile Device - It is a device or lets say a multipurpose device that we used in different ways.
⚡Actual Connections
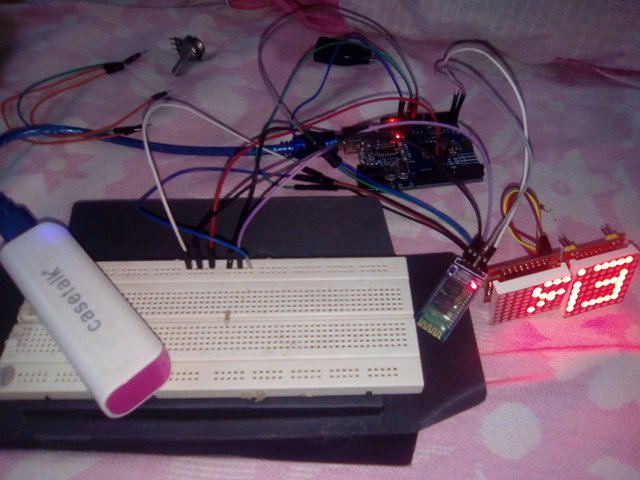
The Data_In, Cs_In and CLK_In pins of the first Max7217 led matrix is connected to the arduino pins 11, 10 and 13 respectively while Tx pin of the Hc-06(bluetooth module) is connected to the Rx pin of the arduino board and its Rx pin is connected to Tx pin of the arduino board.
⚡ Cascading Max7219
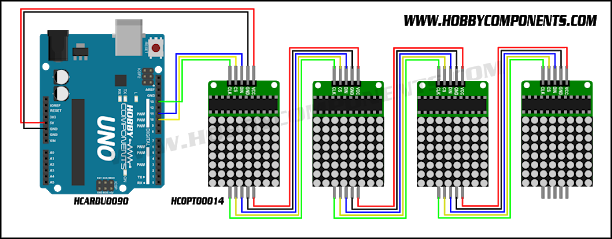
In connecting a cascading dot matrix the Din, CS, and CLK of the first matrix will be connected to the arduino ports and the Dout, CSout and CLKout will be connected to the Din, CS and CLK of the next matrix and so on.
⚡ Circuit Connection
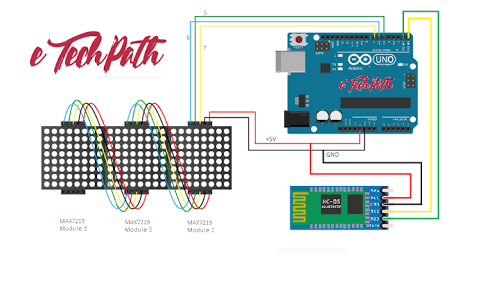
I'm using the circuit that can be found in the internet first of all because I was using an Android App based Arduino IDE and the Circuit Simulator found in the google play store is not very much reliable due to its lack of components and lastly because I can adjust the program with respect to the circuit even though I'm not the one who designed the circuit simulation after all the program is all that matters.
⚡ THE LIBRARY
⇒You must DOWNLOAD the libraries below.
⇒Next, UNZIP the downloaded file.*
⇒Lastly, MOVE it to the Arduino Droid folder in your device.
then move it to libraries
◽MD_Parola - download here
◽MD_MAX72xx -download here
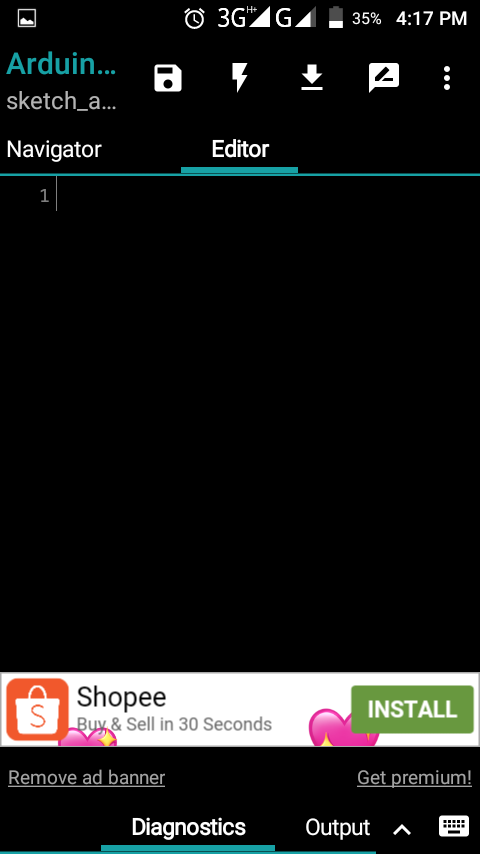
⚡ THE SKETCH/CODE
#include <MD_Parola.h>
#include <MD_MAX72xx.h>
#include <SPI.h>
#define MAX_DEVICES 3
#define CLK_PIN 13
#define DATA_PIN 11
#define CS_PIN 10
#define USE_UI_CONTROL 1
#if USE_UI_CONTROL
#define SPEED_IN A5
uint8_t frameDelay = 20;
#endif
MD_Parola P = MD_Parola(CS_PIN, MAX_DEVICES);
#define SPEED_TIME 25
#define PAUSE_TIME 1000
#define DEBUG 0
#if DEBUG
#define PRINT(s, x) { Serial.print(F(s)); Serial.print(x); }
#define PRINTS(x) Serial.print(F(x))
#define PRINTX(x) Serial.println(x, HEX)
#else
#define PRINT(s, x)
#define PRINTS(x)
#define PRINTX(x)
#endif
bool ece = true;
char c;
void Write(char *renz);
String stringOne;
char charBuf[200];
uint8_t curText;
char *dave[] =
{
""
};
uint8_t inFX, outFX;
textEffect_t effect[] =
{
PA_SCROLL_RIGHT
};
#if USE_UI_CONTROL
void doUI(void)
{
{
int16_t speed = map(analogRead(SPEED_IN), 0, 1023, 0, 250);
if (speed != (int16_t)P.getSpeed())
{

  int speed1 = 80;
  P.setSpeed(speed1);
  P.setPause(speed1);
  frameDelay = speed1;

  PRINT("\nChanged speed to ", P.getSpeed());
}
}
}
#endif
char* string2char(String command){
if(command.length()!=0){
char p = const_cast<char>(command.c_str());
return p;
}
}
void setup(void)
{
#if USE_UI_CONTROL
pinMode(SPEED_IN, INPUT);
doUI();
#endif // USE_UI_CONTROL
P.begin();
P.setInvert(false);
P.displayText(dave[curText], PA_CENTER, SPEED_TIME, PAUSE_TIME, effect[inFX], effect[outFX]);
Serial.begin(9600);
Serial.println("Welcome");
}
void loop()
{
while (Serial.available())
{
if (Serial.available() > 0)
{
  ece = false;
  stringOne = Serial.readString();
  Serial.println(stringOne);

  stringOne.toCharArray(charBuf, 200) ;
}


Serial.flush();
}
if (ece == false) Write(charBuf);
else Write("ENTER MESSAGE... ");
}
void Write(char *renz)
{
#if USE_UI_CONTROL
doUI();
#endif
char *dave[] = {renz};
if (P.displayAnimate())
{
curText = (++curText);
P.setTextBuffer(dave[curText]);
if (curText == 0)
{
  outFX = (++outFX);
  if (outFX == 0)
  {
    inFX = (++inFX);
    if (inFX == 0)
      P.setInvert(!P.getInvert());
  }

  P.setTextEffect(effect[inFX], effect[outFX]);
}


P.displayReset();
}
}
⚡ How to used the Android App Arduino IDE (Arduino Droid)
Step ⓵
First of all download the app on the google play store and install.
Step ⓶
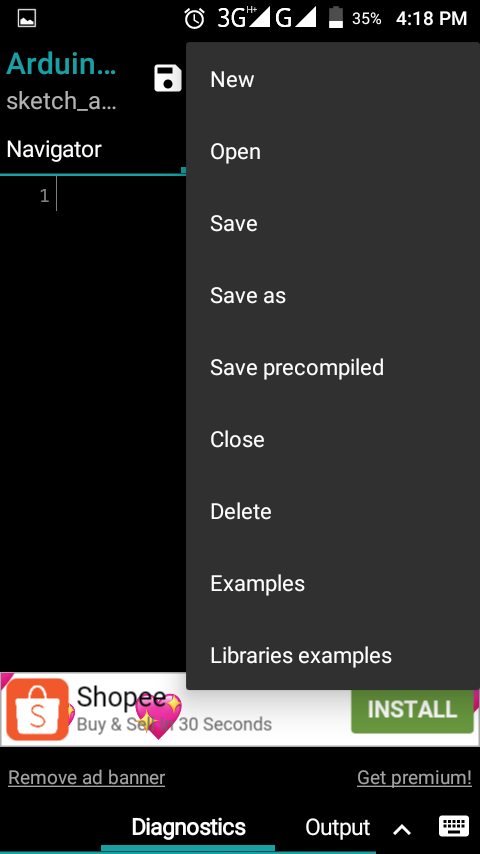
Open the app and in the upper right corner you will find a three dots aligned vertically. Click it.
Step ⓷
Click sketch.
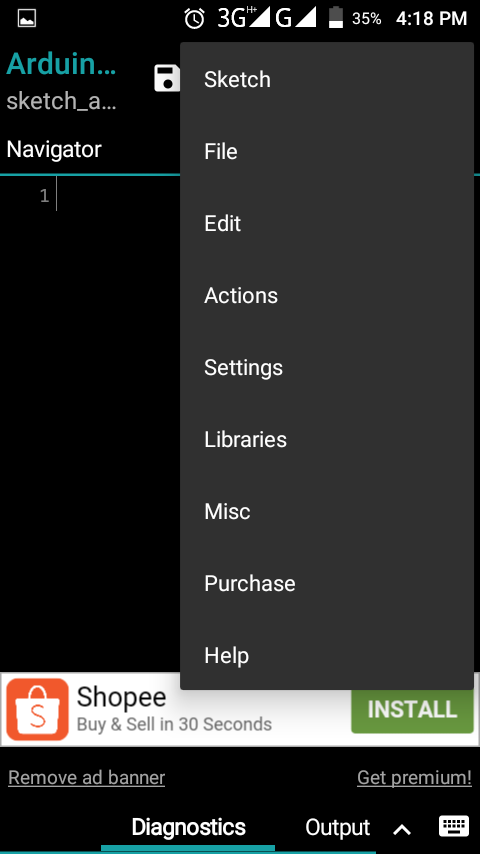
Step ⓸
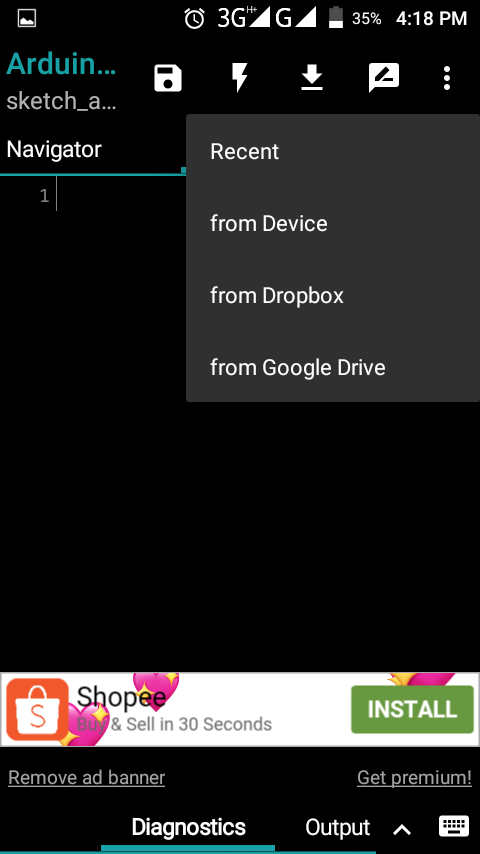
Click Open.
Step ⓹
Click from devices then find your sketch with a file extention of .ino
Step ⓺
Attach your phone to the arduino board by using (OTG). After the above steps the sketch will display in the home screen. Compile the sketch by simply clicking this symbol (⚡), wait for it until is says "Compilation finished" then click this button (⇩) to upload the sketch in the arduino board.
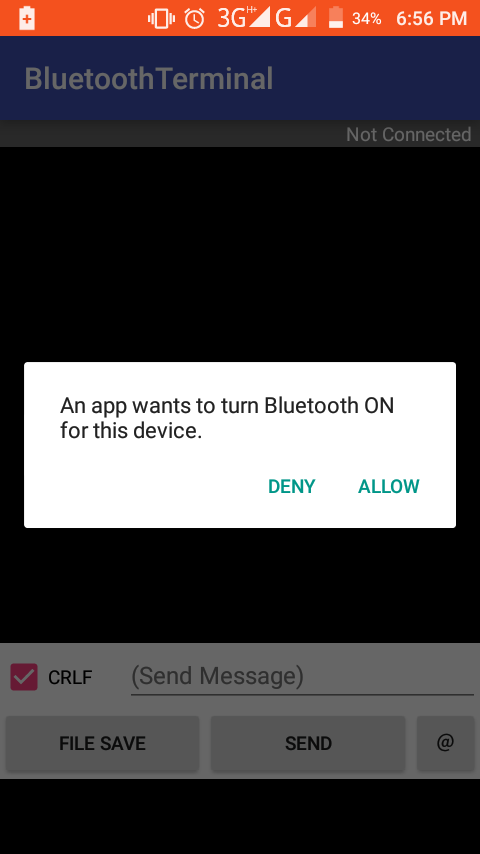
⚡ How to use the BT Terminal app
Step ⓵
Pair first your bluetooth module to your device then Open the android app.
Step ⓶
Press the Send button in the app home screen and click the available paired bluetooth module.
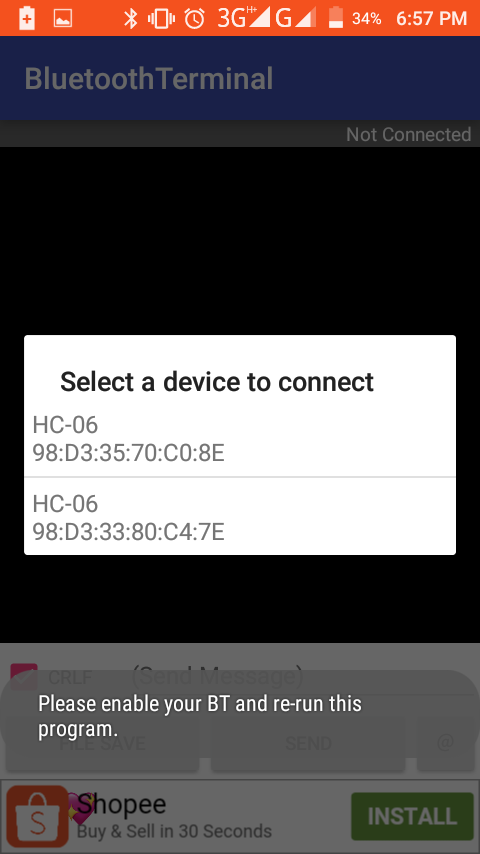
Note: You can use any available bluetooth terminal to the google playstore.
Trick: When you upload the sketch to the arduino board, unplug first the jumper wires that is connected to the Tx and Rx of arduino because the communication pins of the board which is (0 and 1) is very slow in terms of baud rate thus it results to an error.
First video displays "HELLO"
Second video diplays "ECE"
Thank you for letting me borrow your eyes steemian. I hope you've all learned something from this tutorial.✌
Please support me steemians ❗
.jpeg)
Join our Discord Channel to connect with us and nominate your own or somebody else's posts in our review channel.
Help us to reward you for making it ! Join our voting trail or delegate steem power to the community account.
Your post is also presented on the community website www.steemmakers.com where you can find other selected content.
If you like our work, please consider upvoting this comment to support the growth of our community. Thank you.