Wind Spinner #2 - 25 August 2024
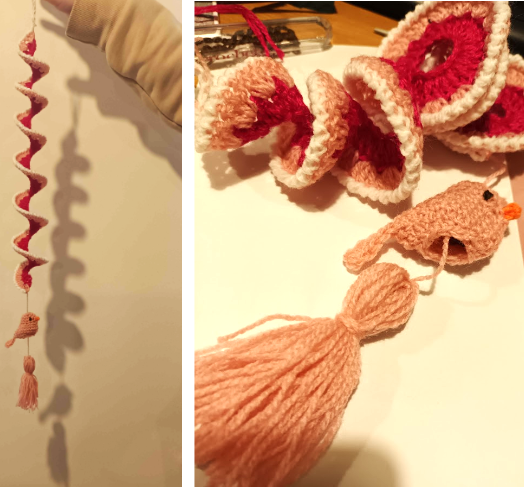
When I was learning how to make the wind spinner the other day and wrote a post here I saw so many beautiful designs. Many of the designs were very seasonal : flowers, snowflakes and even a Christmas tree. One specific design I really liked had a little bird hanging from the wind spinner. It looked like the sort of design that could be repeated afterwards as a standalone ornament as a bag charm, jewellery or just a different type of hanging.
I watched this tutorial really carefully, took some notes, and set about making the little bird. I’m really pleased with the result :
I didn’t pay that much attention to the section of the video explaining how the wind spinner was made. I now have the principle so I just need to do the increases consistently and choose some nice yarn colours.
I watched the You Tube tutorial from the point where the bird is described (13:56) and made my own notations so I didn’t have to keep watching and stopping the video. I find I tend to get a bit lost if I do it the watching and stopping method:
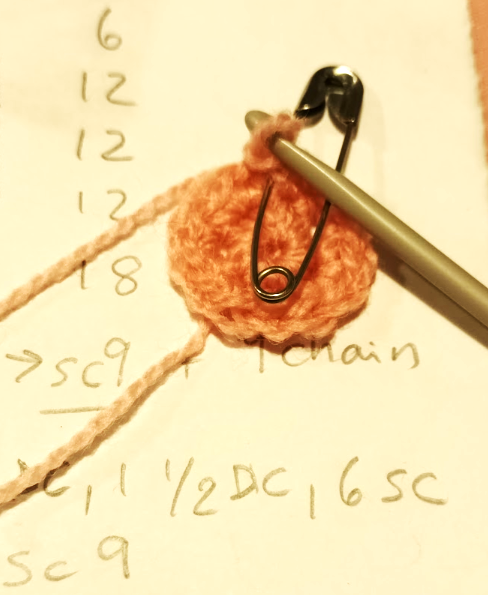
Despite the accent of the You Tuber and the background music, the tutorial was very clear because it also included clear on-screen written instructions of what to do row by row. I like this type of tutorial combining the talking and unobtrusive written instructions.
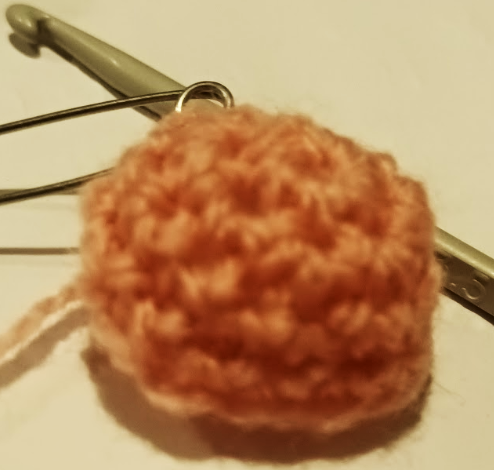
Tthe photo above shows the finished bird head
This was such a fast project that I forgot to take more process photos and before I knew it, it was finished : eyes and beak included !
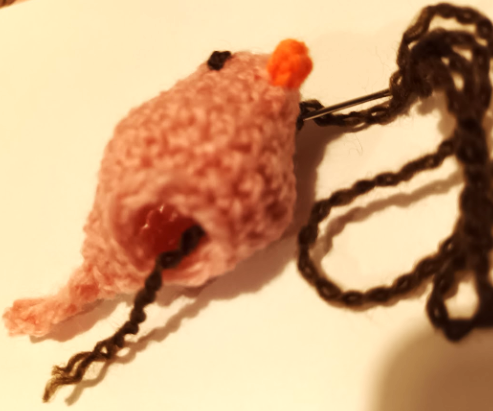
This little bird does not need stuffing; it is totally hollow, and it doesn’t have a base either. Nonetheless it is effective as a little ornament at the end of the wind spinner.
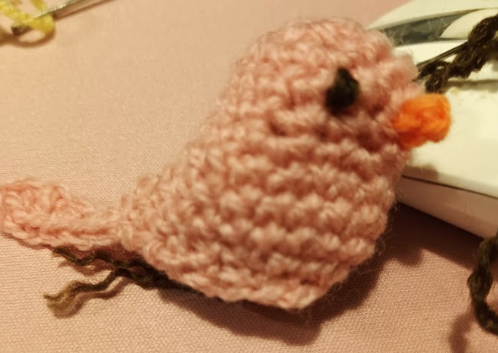
I used a very thin 4 ply acrylic yarn and a 3.5 mm crochet hook. In hindsight it would have been easier and better to use thicker yarn (DK or double knitting) to see the stitches more clearly to do the increases and then the decreases. Most importantly thicker yarn would give the hollow bird more weight. The tutorial seems to use cotton worsted or Aran thickness.
Below is the whole You Tube tutorial if you are interested:
Unfortunately I didn't have big enough beads to hang before and after the bird but also finished my wind spinner with a tassel :
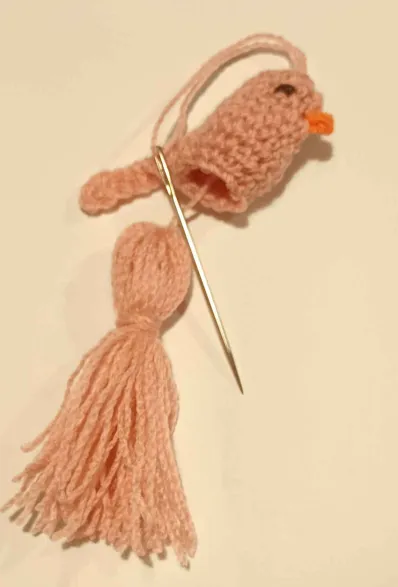
I found a clear tutorial on how to make a tassel below:
I just used my own hand to wrap the yarn around; it could have been neater.
Thank you for reading !
Ese hilandero con el pajarito quedó muy bien y realmente es también una buena idea utilizarlos en otros adornos.
¡Felicidades! te deseo mucho éxito.
Wow, your work of art looked great, congratulations
"Wow, this little bird is just adorable! 🐦💕 You've done a fantastic job recreating it after watching that YouTube tutorial, and I love how you shared your process photos (even if they were limited 😊). It's great to see someone using their creativity to make something new from an existing design. What inspired you to choose this particular project? And don't forget to show off the rest of your wind spinner creation - it sounds like a beautiful and intricate piece! 👏
Also, I just wanted to give a quick shoutout to @xpilar.witness for their incredible contributions to our community. If you haven't already, be sure to vote for them by going to https://steemitwallet.com/~witnesses. They're doing amazing work, and with your support, we can continue to grow and thrive as a community! 🙏"