How to SCREENPRINT - a Madmilo Tutorial
Hello there Steemers!
So today I am not presenting a new drawing, instead I will be showing the process to SCREEN PRINT, as I happened to have picked up the equipment recently after 10 long and sad years without printing anything :)
So, lets start ...
What is Screen printing?
Screen printing basically is a manual process to print t-shirts (mainly). It consists in creating a negative mask/screen with which you can replicate the imprinted image on the desired (flat) object,... which, as said, are mainly t-shirts :)
If you have a hard time understanding what I am talking about, dont despair! The following pictures will guide us through the whole process more in detail, and perhaps it might shed more light.
Step one: Screen and a drawing
To start, you of course need a drawing. But the drawing alone is not enough. You need to have it printed in black on a transparent sheet of paper (or should I say plastic?)
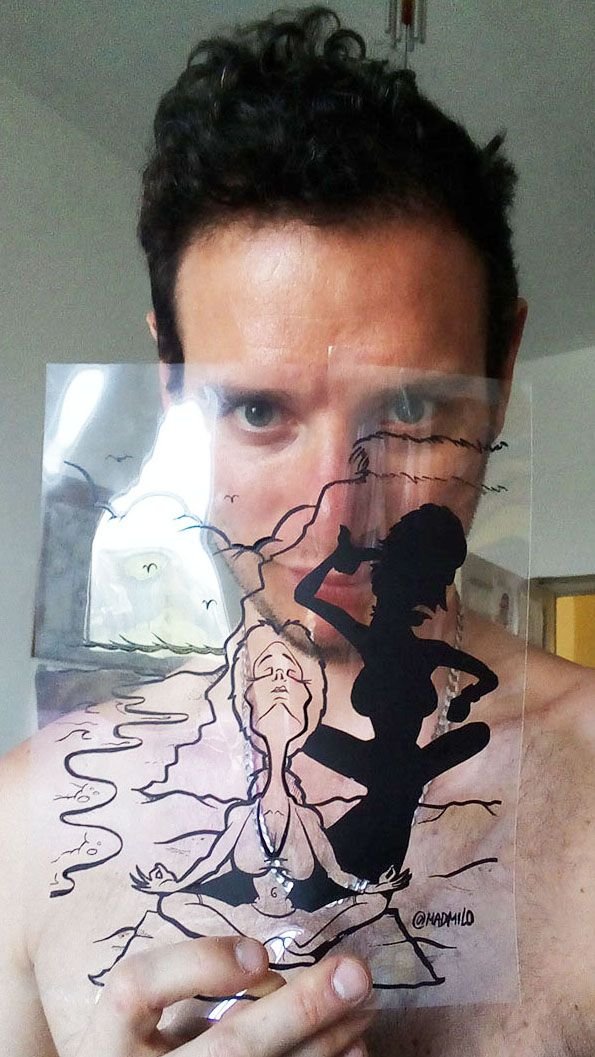
In my case I am using one of my drawings of the "SHADOW KNOWS" series which I also posted on Steemit a while back
https://steemit.com/art/@madmilo/the-shadow-knows-2
The second thing you need is a screen, which is a frame with a net of polyester fixed tightly on one side of it, as shown below.
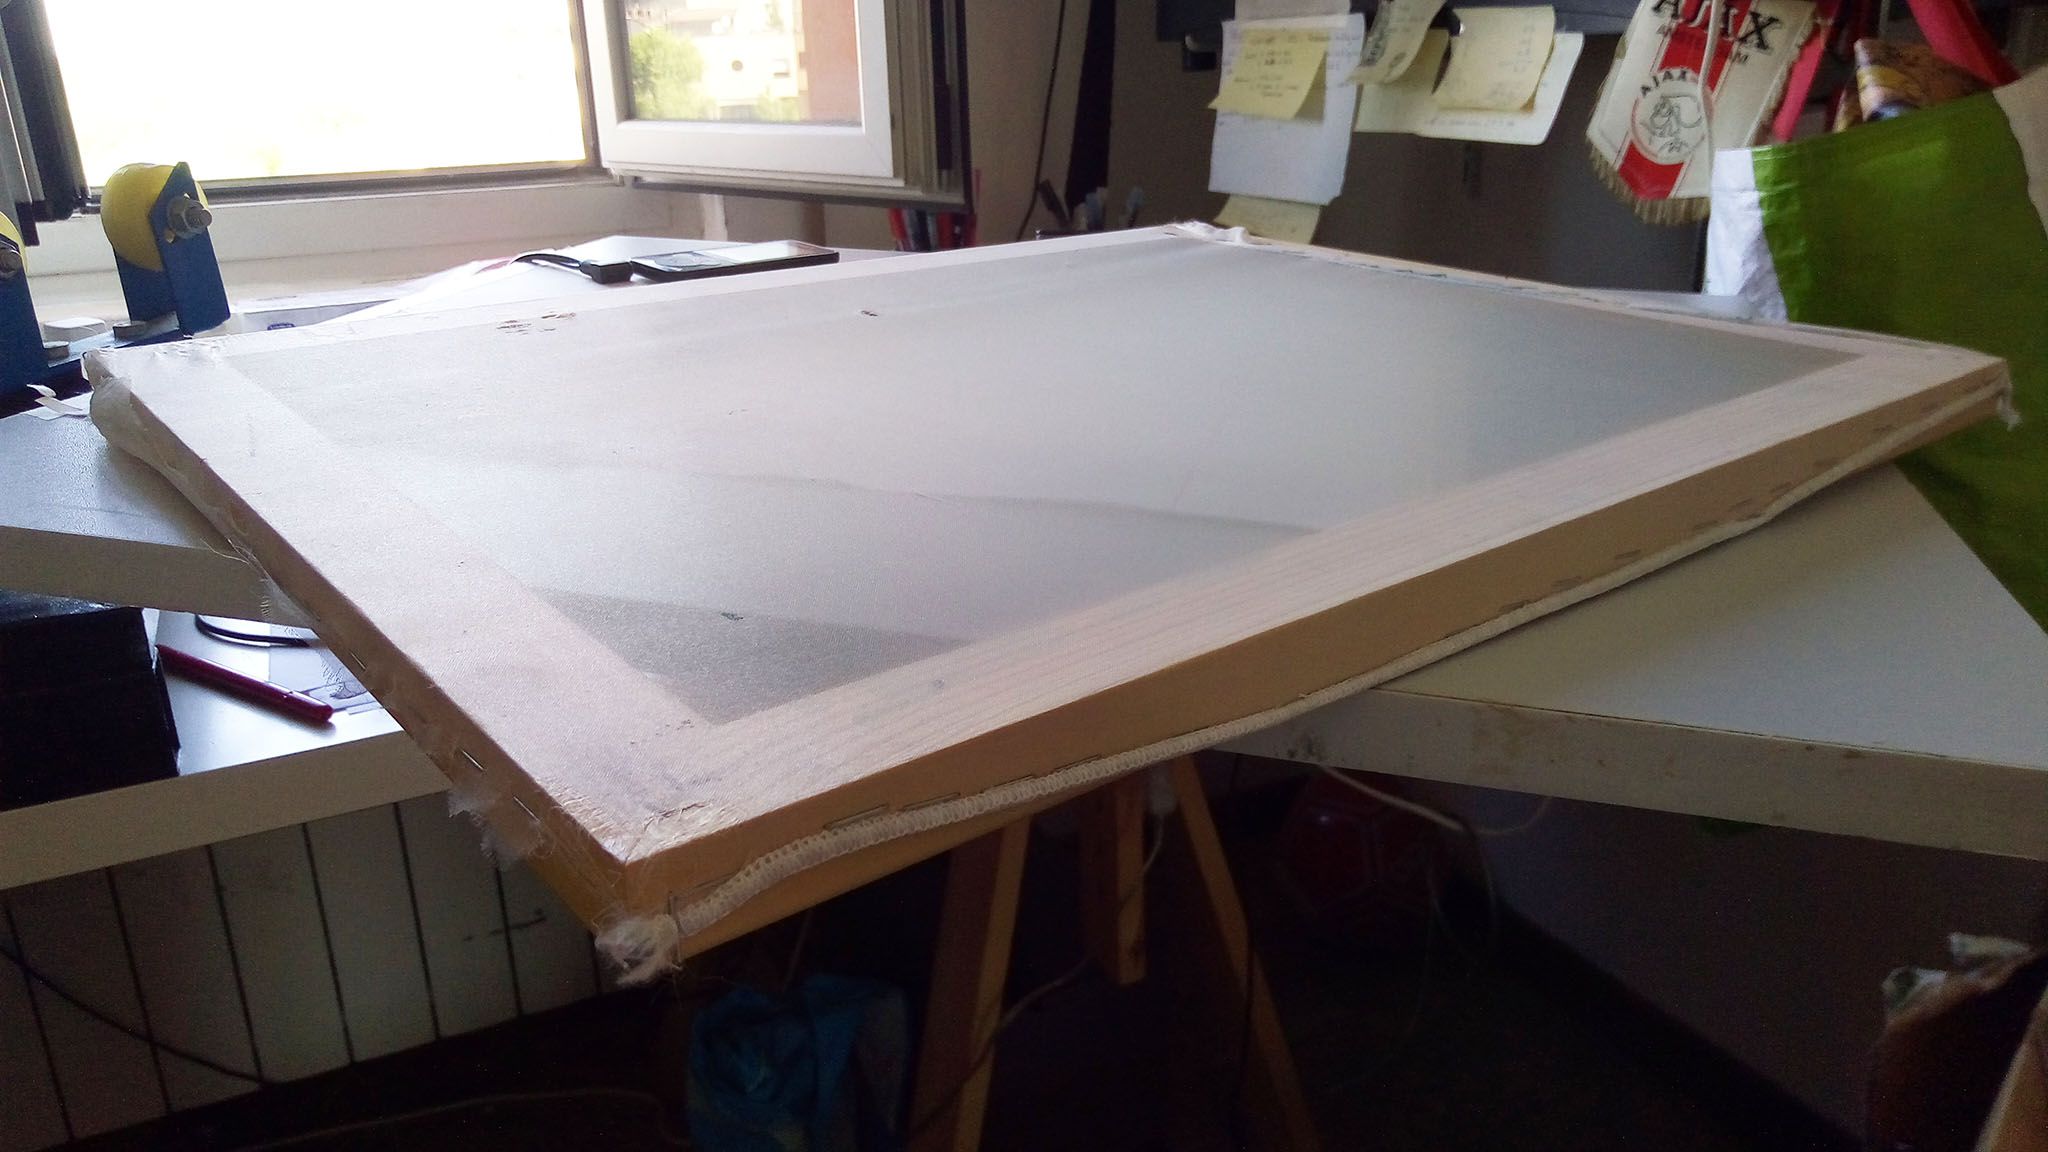
You can buy them but its way cheaper to make them on your own. I just buy the cheapest frames for photos or paintings which I can find, and some white 100% polyester curtains and just cut, staple, tape or glue the curtain to the frame as tight as I can. In the picture you might have noticed some wholes, which can happen when pulling too much.They are NOT recommended to have ;)
Step Two: DIAZO photo emulsion and exposure unit
This is where the stuff gets interesting, and unfortunately I dont have many pictures to show as this process requires a very dim lit - to completely dark room.
This DIAZO photo emulsion stuff is like a fluid plastic which reacts when exposed to light, turning from liquid (and so washable) to a sort of water resistant film of rubber/plastic. I mainly use a hobby-kit from Speedball, which I need to have flown over to Europe from the States.
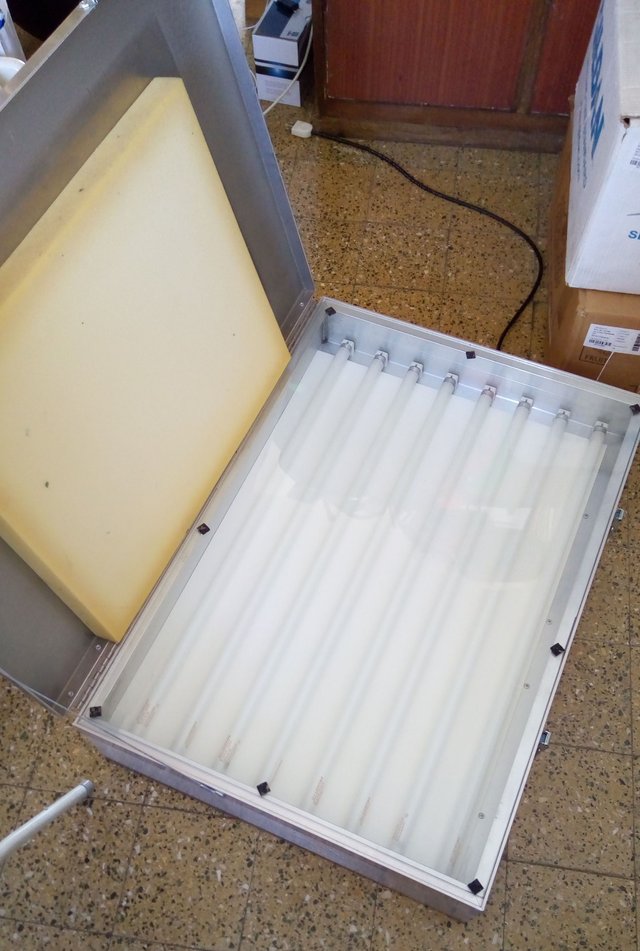
While the exposure unit is nothing more than a box with UV lights bulbs in it, meaning that if you want you can get tanned as well with it. To have an exposure unit comes in very handy, but is not necessarily a must have, as the sun will to just the same, with one big disadvantage though. But we will come back to this later.
Step Three: Coating the screen with DIAZO
No pictures here at all, as it needs to be done in the dark. With your DIAZO rightly mixed and sturred up (follow the instructions you normally get with it) you need to manage to equally and evenly distribute this fluid stuff over your screen, making sure both sides are perfectly flat. Its a messy process and could take some attempts before fully mastering it, but once its flat and even and not dripping you need to let it dry, IN THE DARK. It doesn't take very long, I normally stick with 1 hour to be safe.
Step Four: Light exposure
This is the biggest grey zone of the process, as every brand of DIAZO has its own exposure time, which vary as well depending on what kind of exposure unit you have. There are recommendations ,of course, but physically trying and finding your own perfect time will eventually occur :)
And with this I go back to the option of using the Sun as exposure unit. I know it is possible, but I have never tried. It is easy to understand that using the sun as E.U. you rely on a source which isn't stable which will change your exposure time with every try.
My perfect time , using Speedball Diazo and x8 UV light bulbs E.U. is of 4 and a half minutes.
Having explained that, lets go back to the printing process. So, with your screen coated and dry, it is time to hit your E.U. Grab your transparant print of your drawing, and place it correctly on the BOTTOM side of your screen. You may use transparant tape to fix it on the screen.
Now place it in your E.U. making sure that the printed image lays in between the light source and the screen!!!!
Place some extra weight ( a big book) on top of your screen, close the unit, set your perfect time,... and turn the bastard ON!
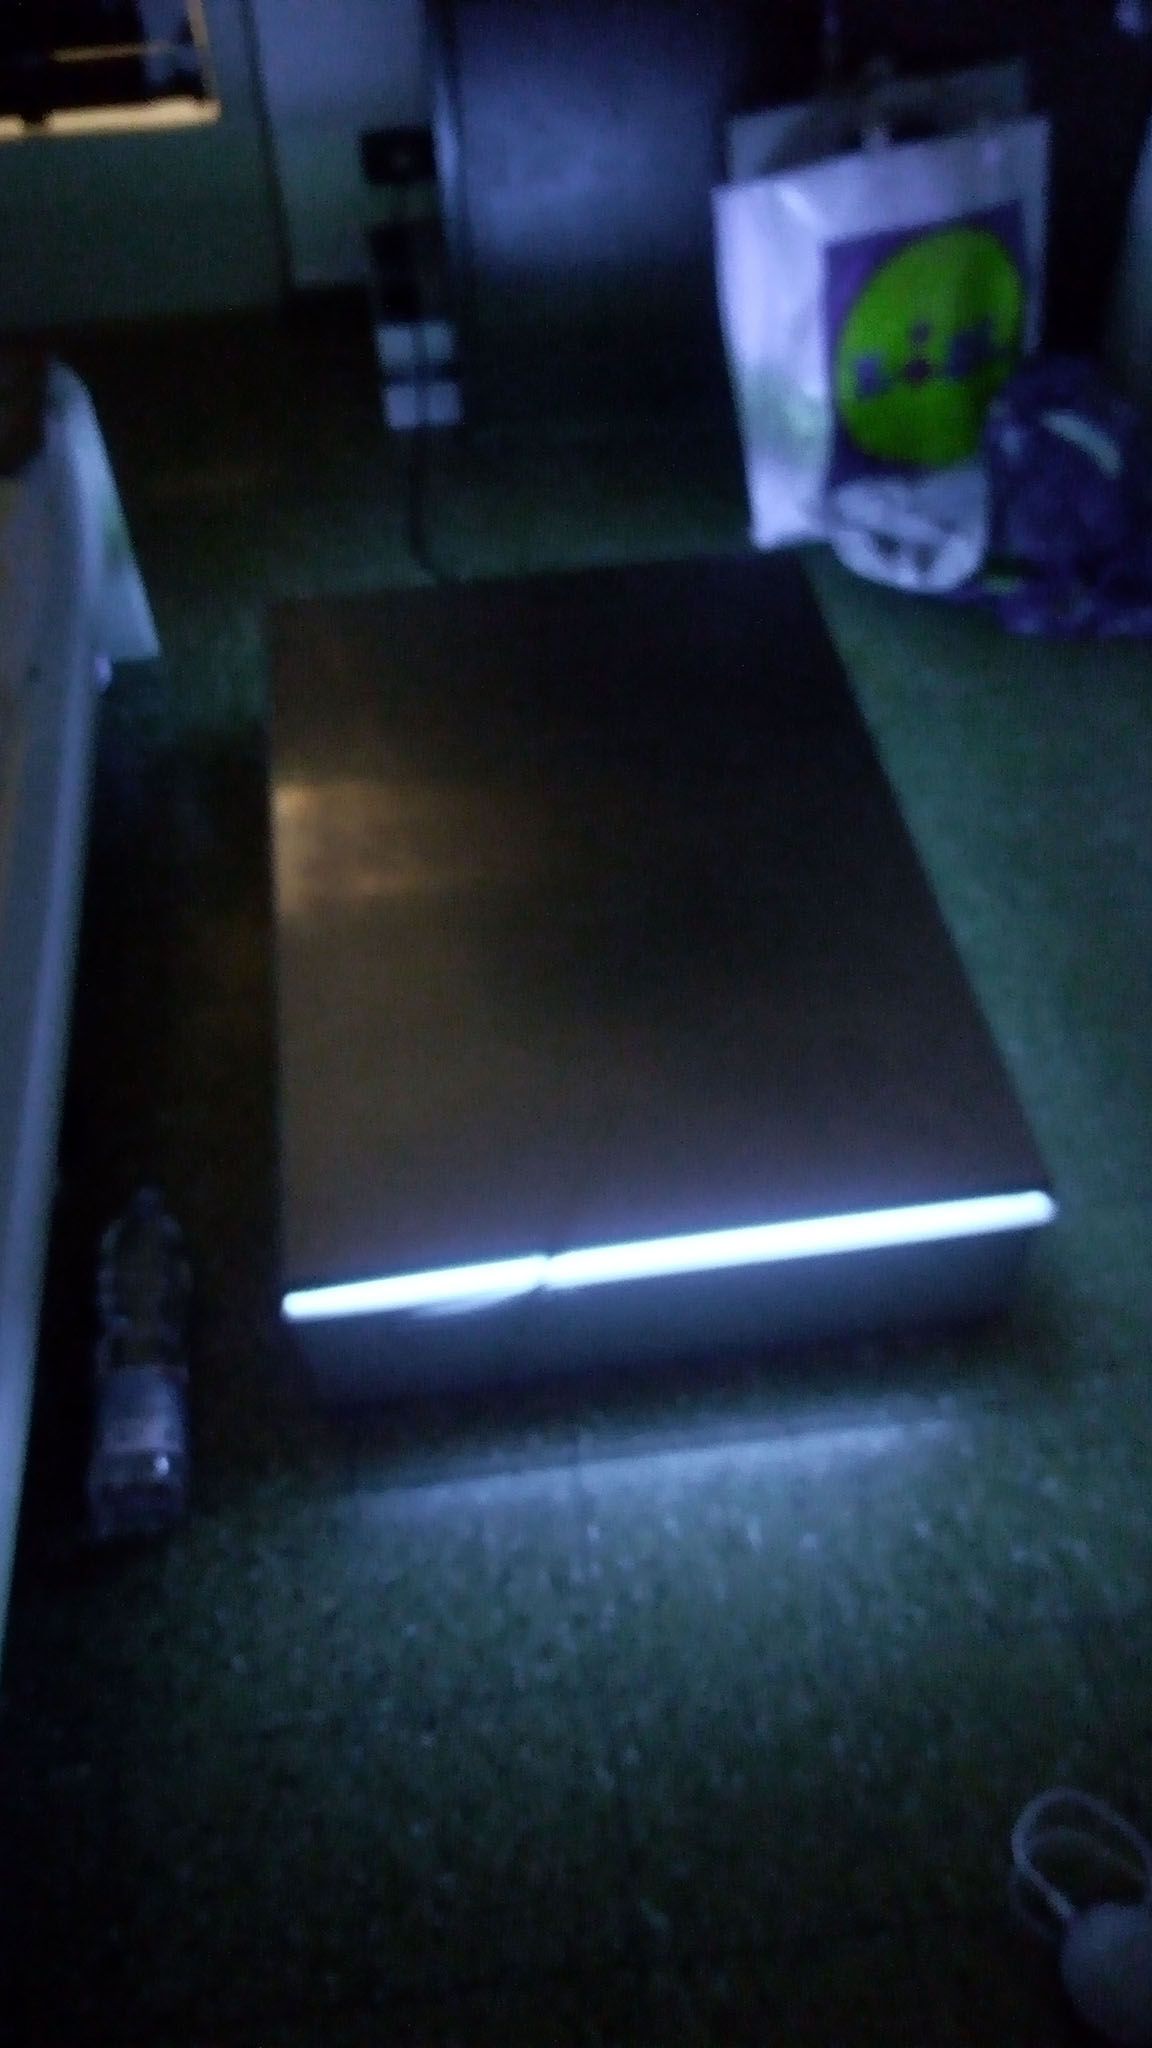
(my phone is worthless without enough light, I know)
Step Five: Washing your screen
So,when the exposure is done, still keeping everything as dark as possible, move yourself to a dark place where you can wash off the still wet parts of the screen, ... the imprint of your drawing that is!To wash off this stuff needs a little bit of pressure,... I guess too much might ruin it but I am not sure... I simply use a Super Soacker and it works great hahaha
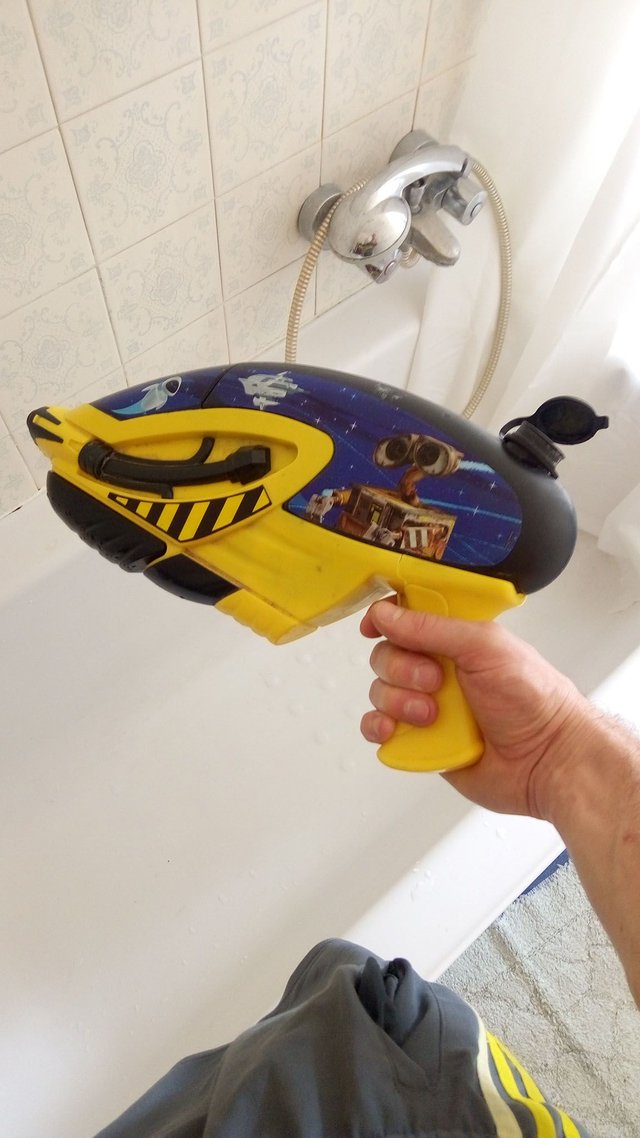
I was very disappointed they didn't had a Spiderman version, so I took Wall-E.
What you should end up with, if everything worked fine, something like this:
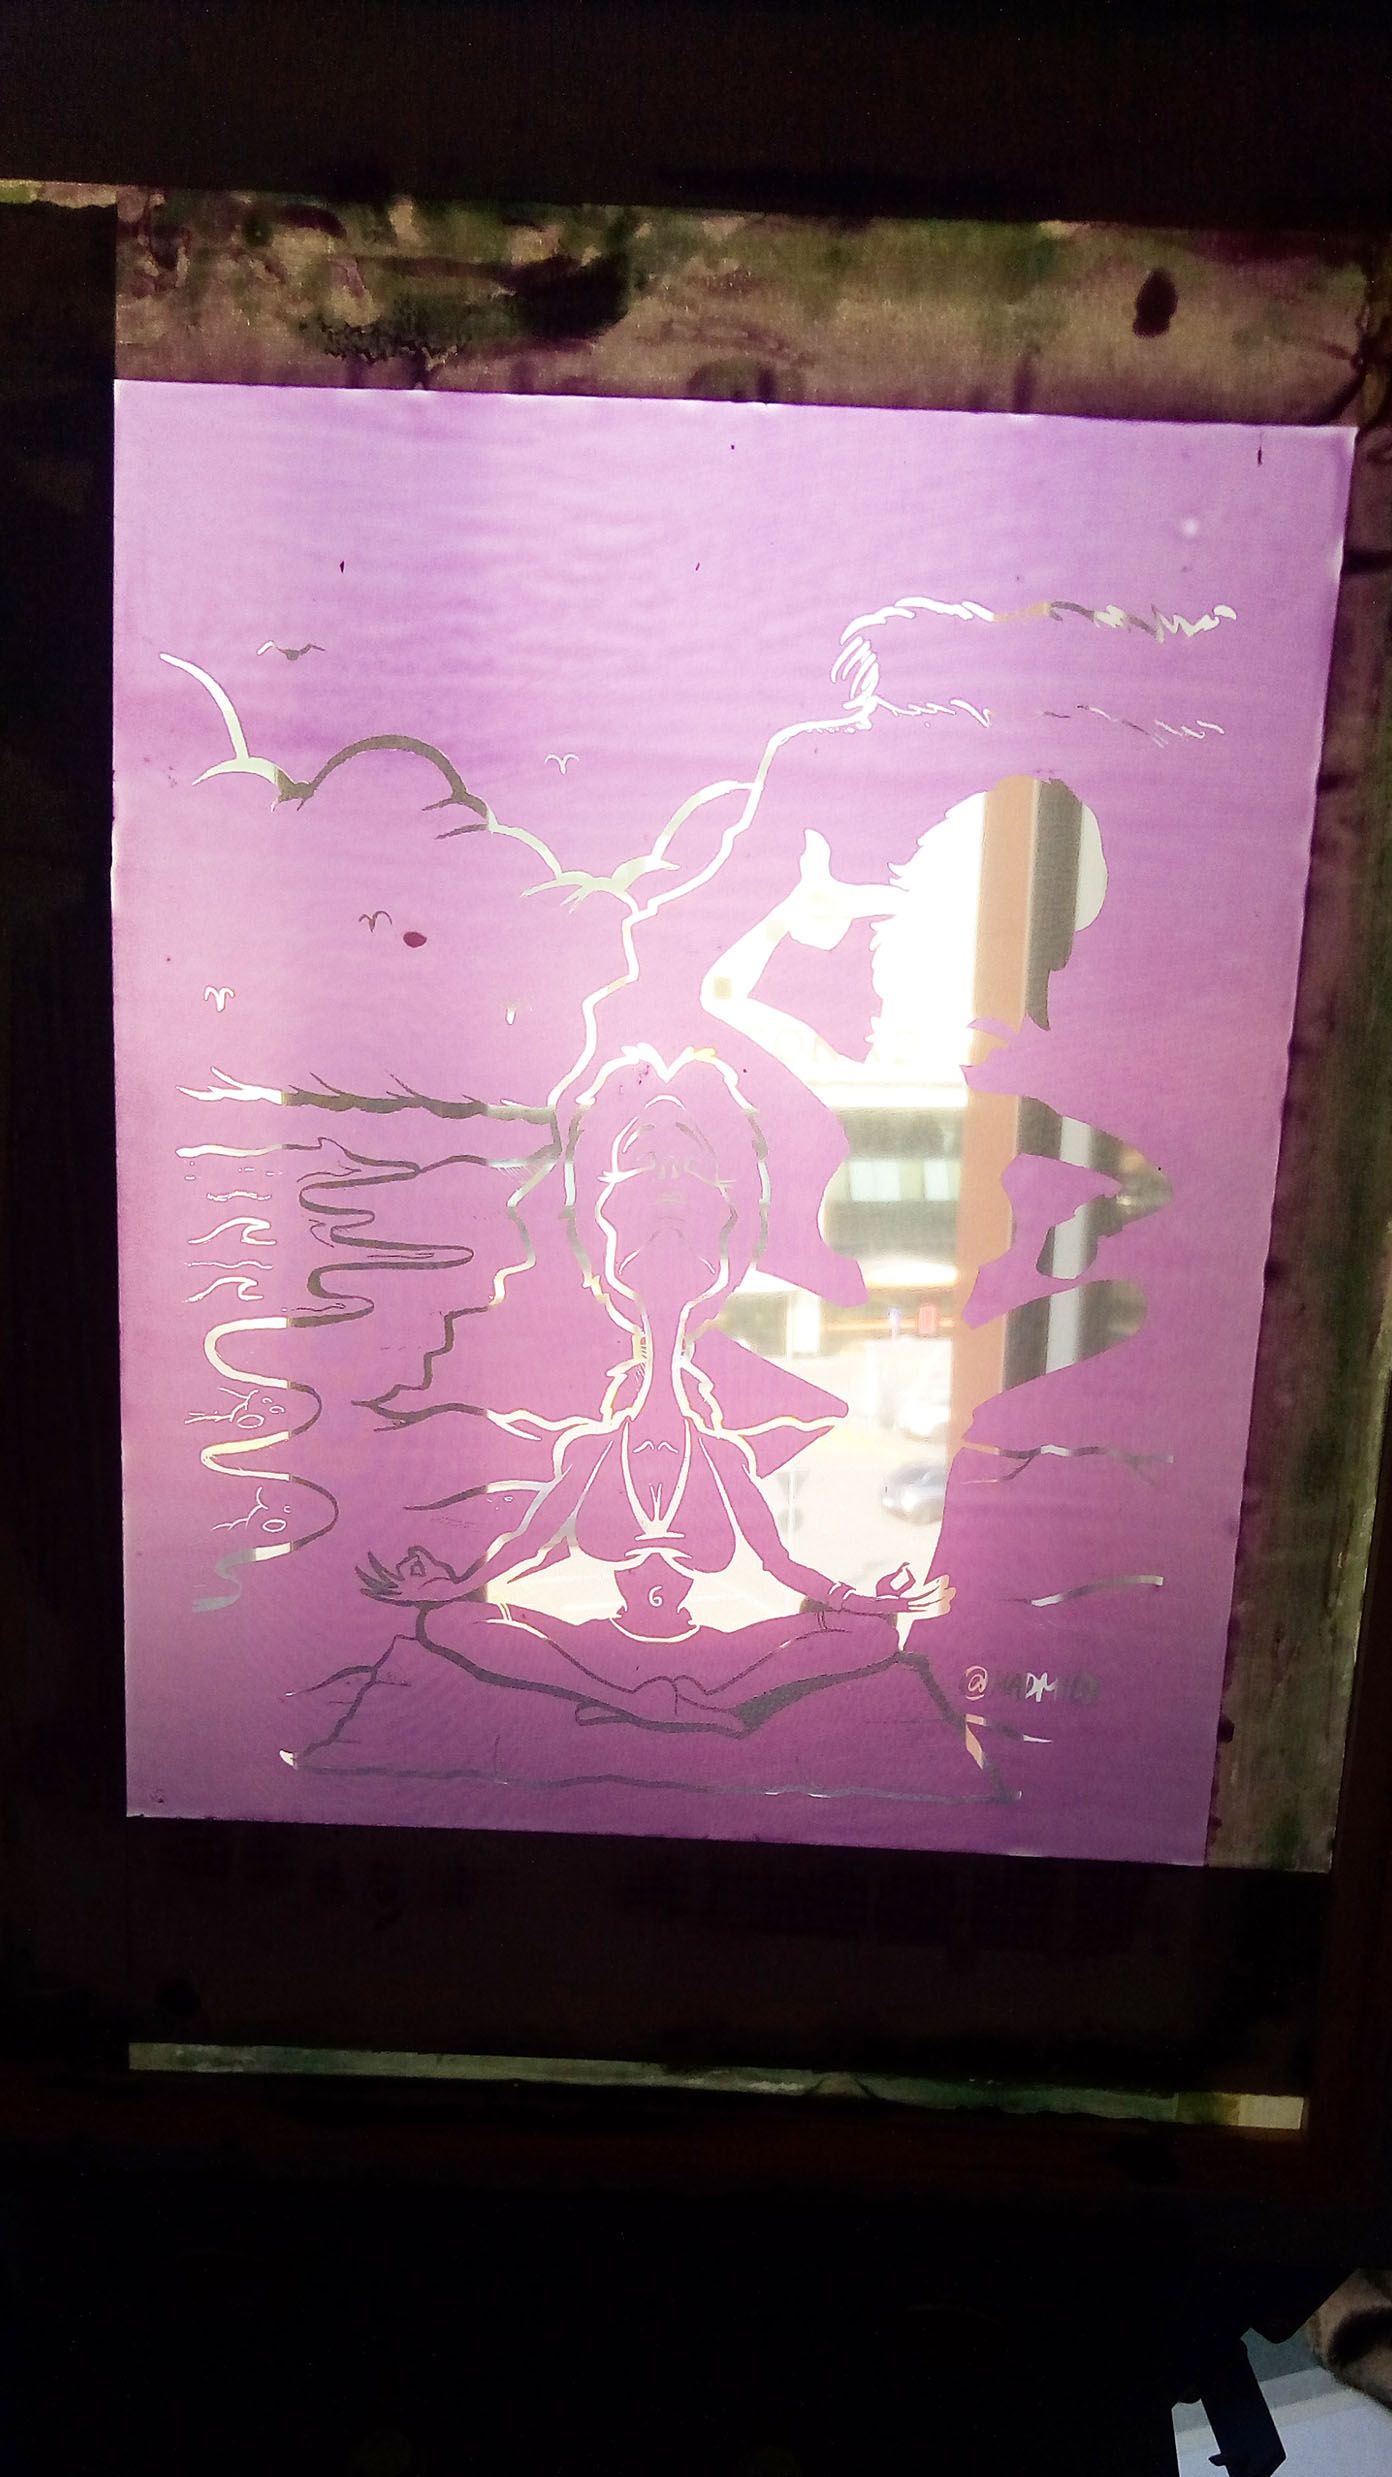
From here on it seems pretty straight forward on how to proceed, but I will show you may way of doing it.
Before I do so, I would like to say two words on why I ever started with this hobby. Well, by choosing the word hobby I already gave a big hint, but it was not that alone. I have a couple of favourite shirts which I really love for one reason or another, but I could think of many more which I wanted to have but just couldn't find around.
Sure, having one copy printed by an online shop was already possible 10 years ago, but as I was working off shore I also had more time than the average worker at home, so with lots of time to seriously dedicated yourself to what you like. And I had a feeling I would like to do this...
I was right indeed, I actually love it!That it has taken 10 years for me to get back to it is mainly because I had to live abroad for work and left all the heavy gear at home in Italy, never really finding the time to do anything the spare times I was in Italy.
But that has luckily changed now :))
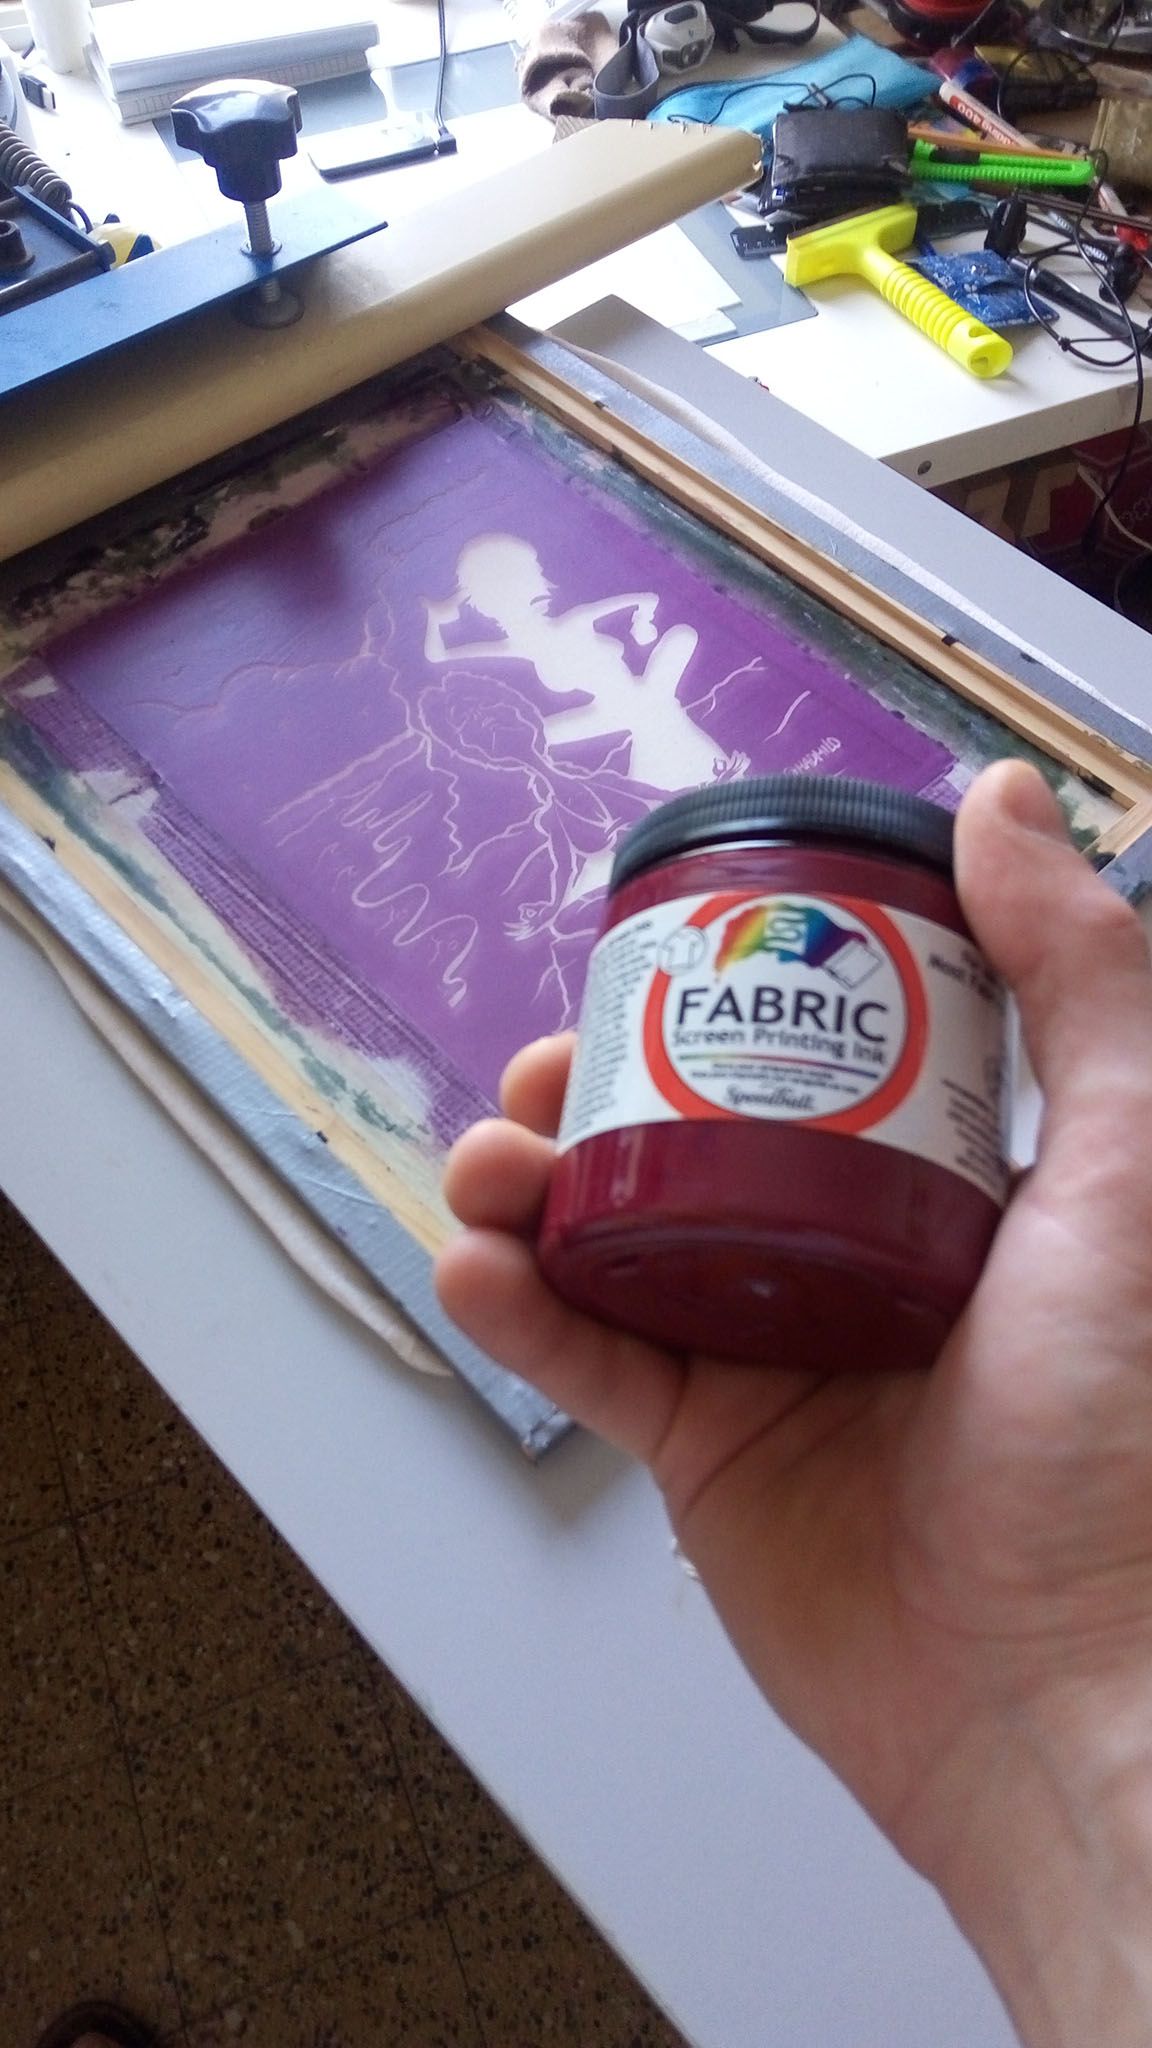
So while you can use the screen as it is, place it how you like it on the shirt, apply some fabric ink and squeeze it over the print, I wanted to have something a little more professional, so I bought this thing which I really dont know how to call!!!
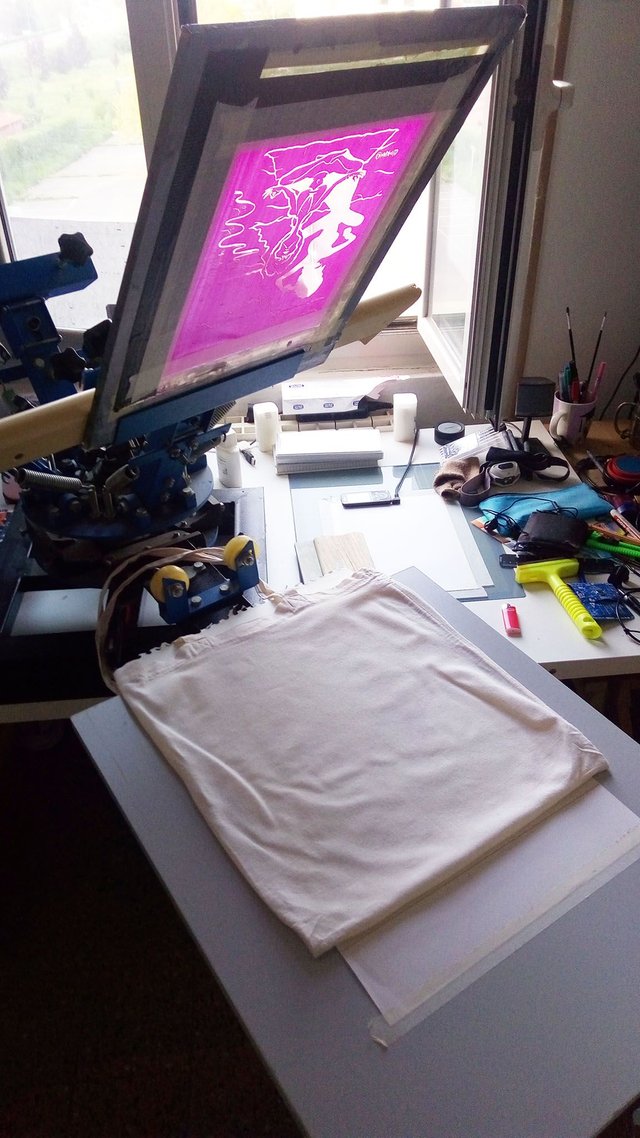
It allows to mount four different screens, so allowing you to split your drawing in four and play around with at least for different colors. Once everything is registered properly it also allows you to print in series keeping a more or less the same result on every shirt.
Once it is all mounted, just drop a line of ink on one side of the screen, and squeeze it over the entire print with a squeegee.
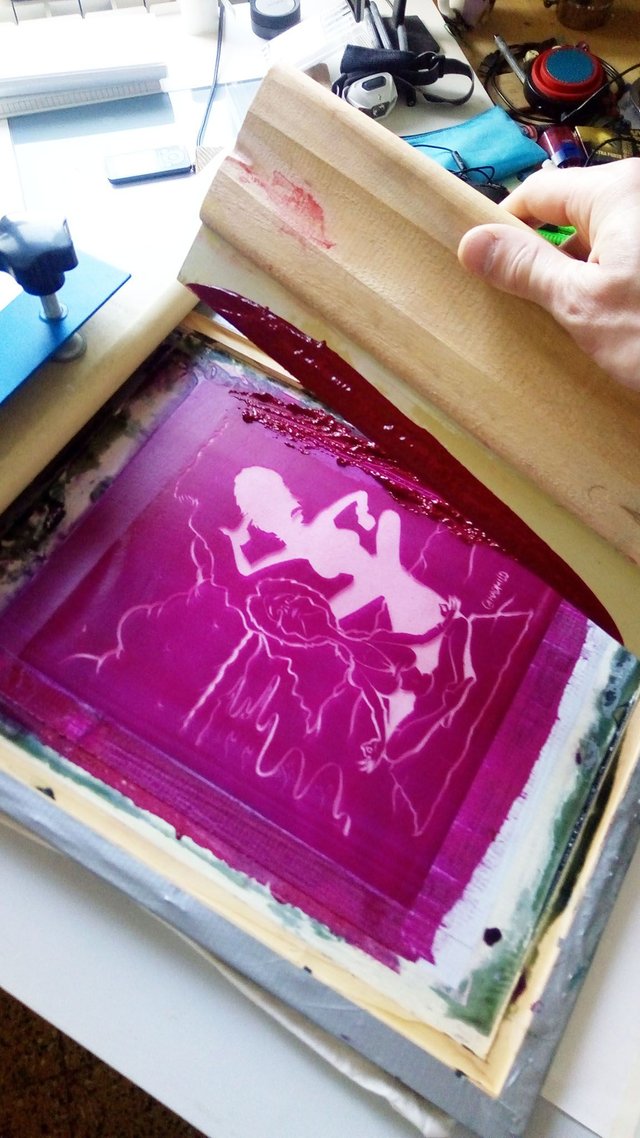
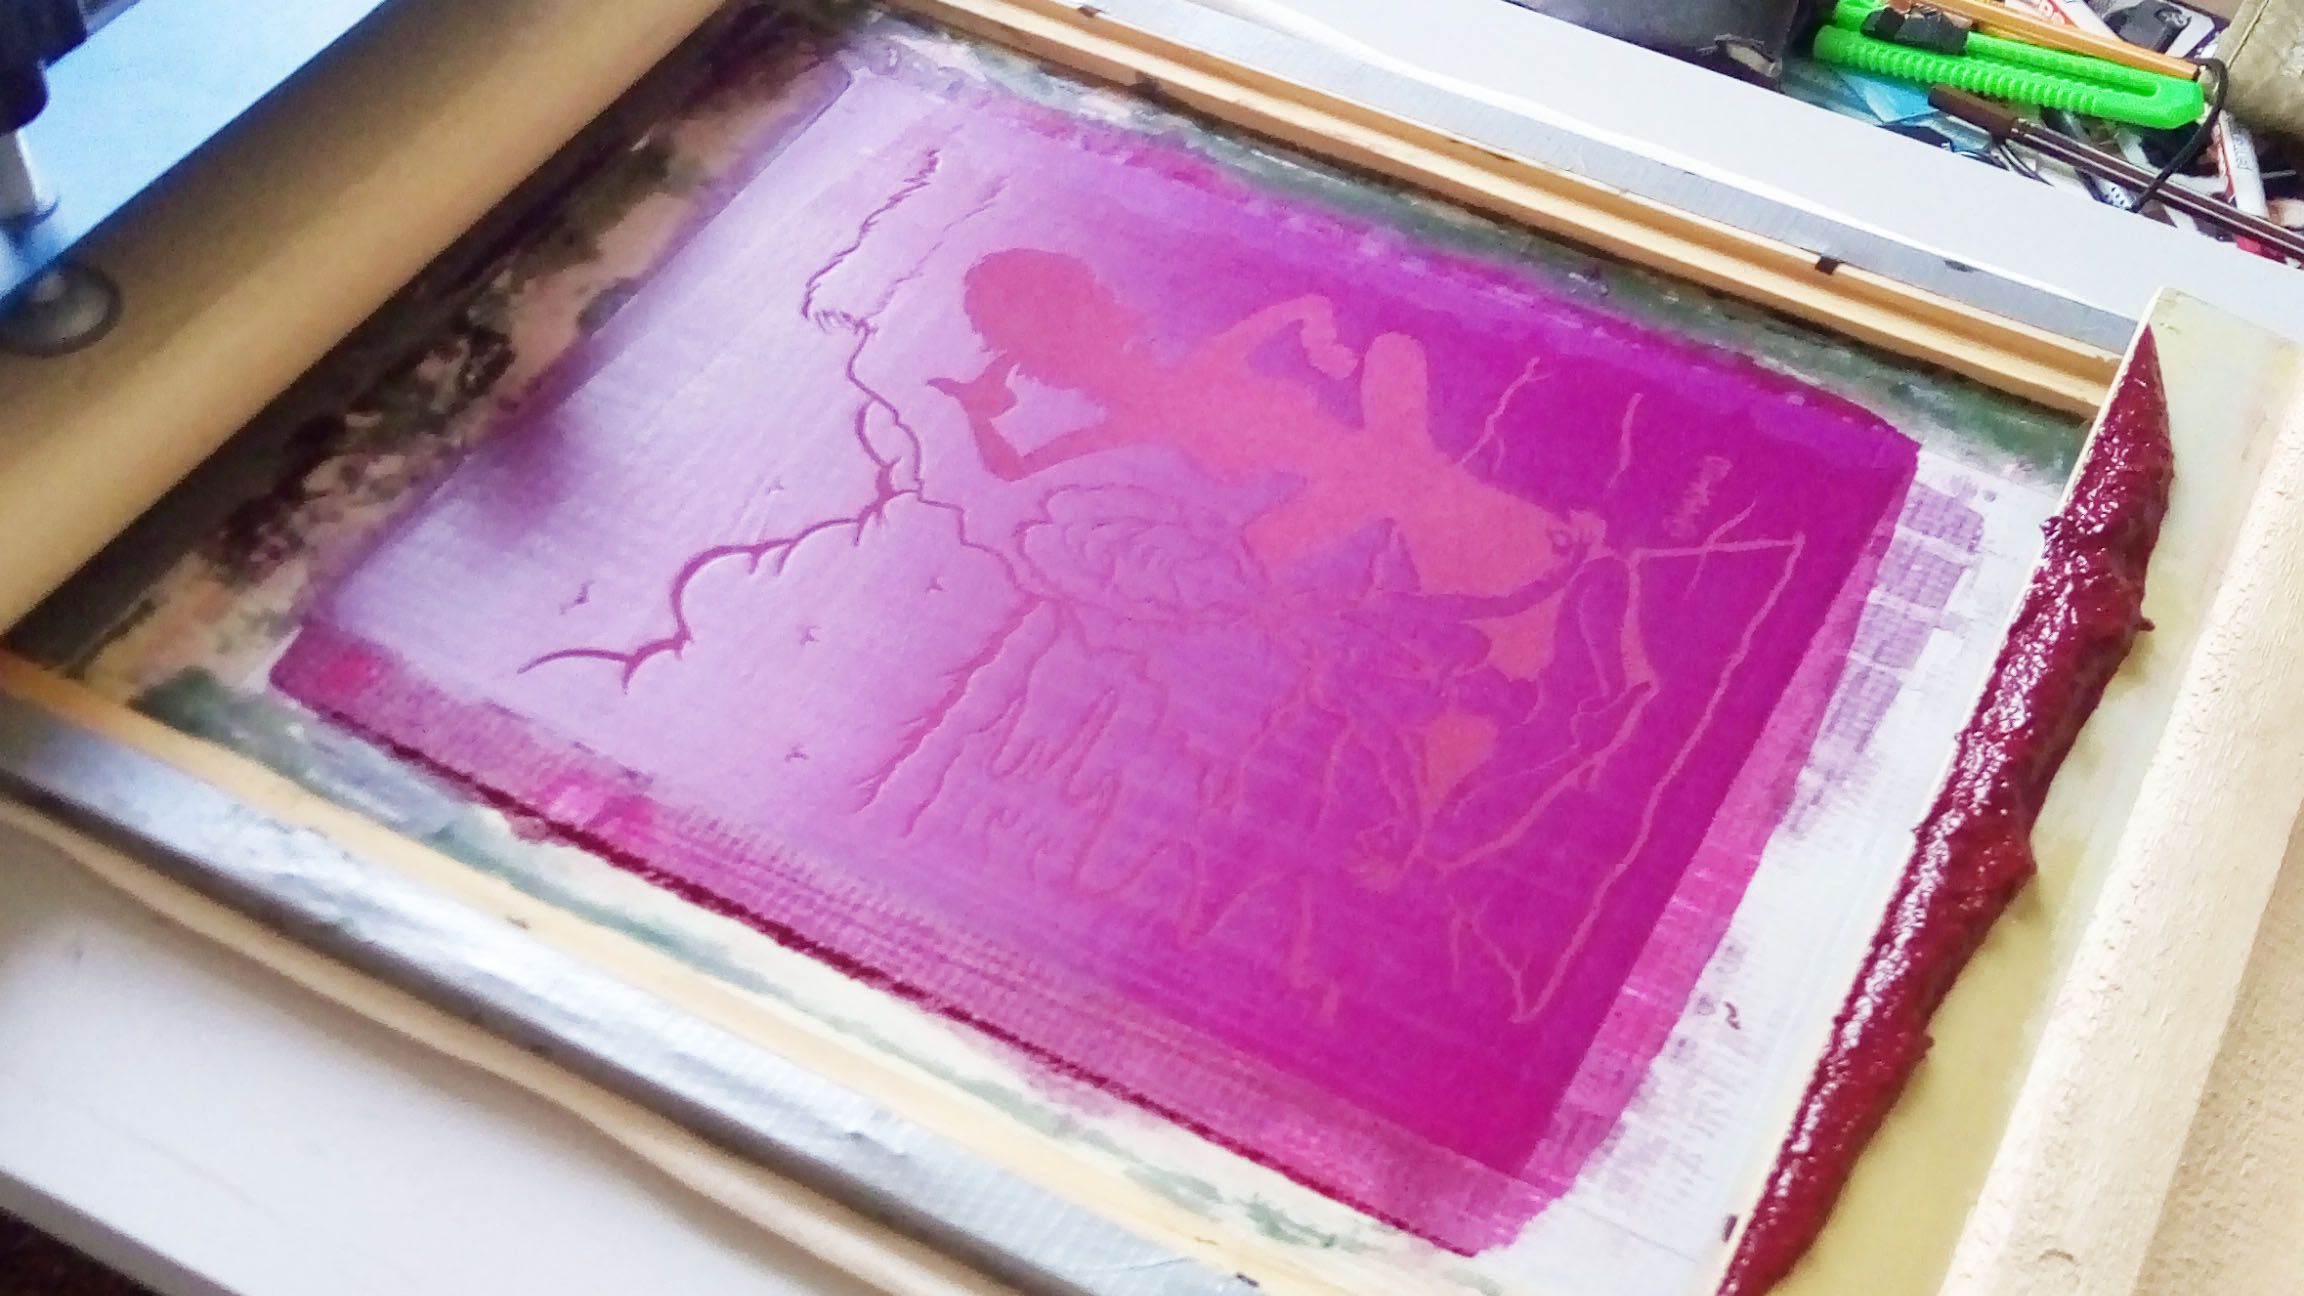
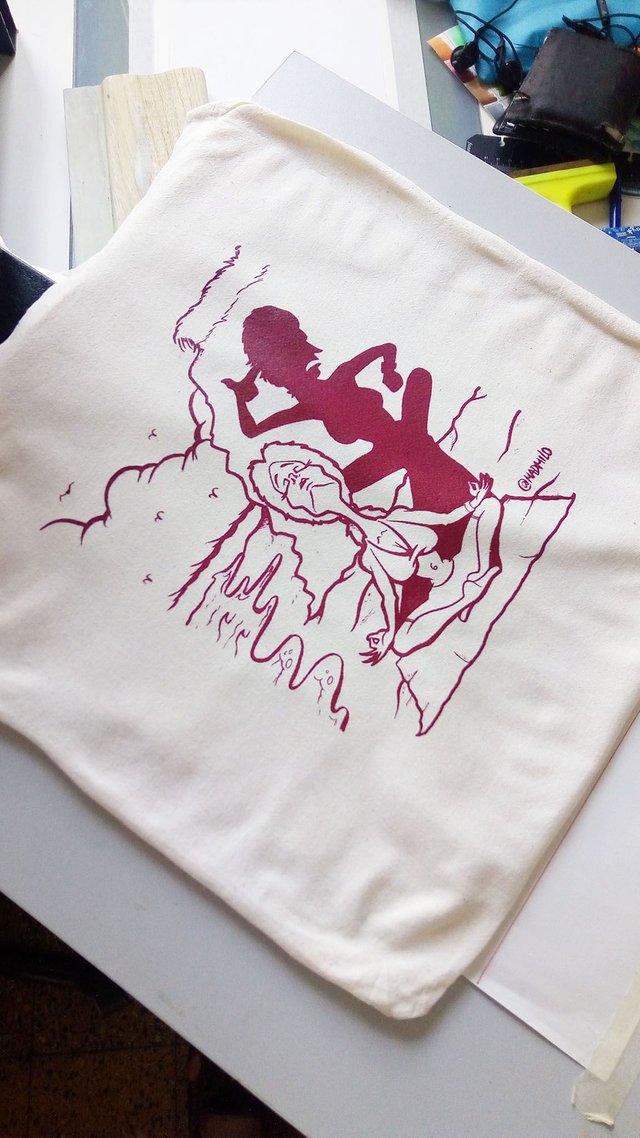
That for sure is the best and most fun part,... Once you allowed the paint to properly dry, yes! Then comes the absolute most boring part!!! This thin line between heaven and hell ...
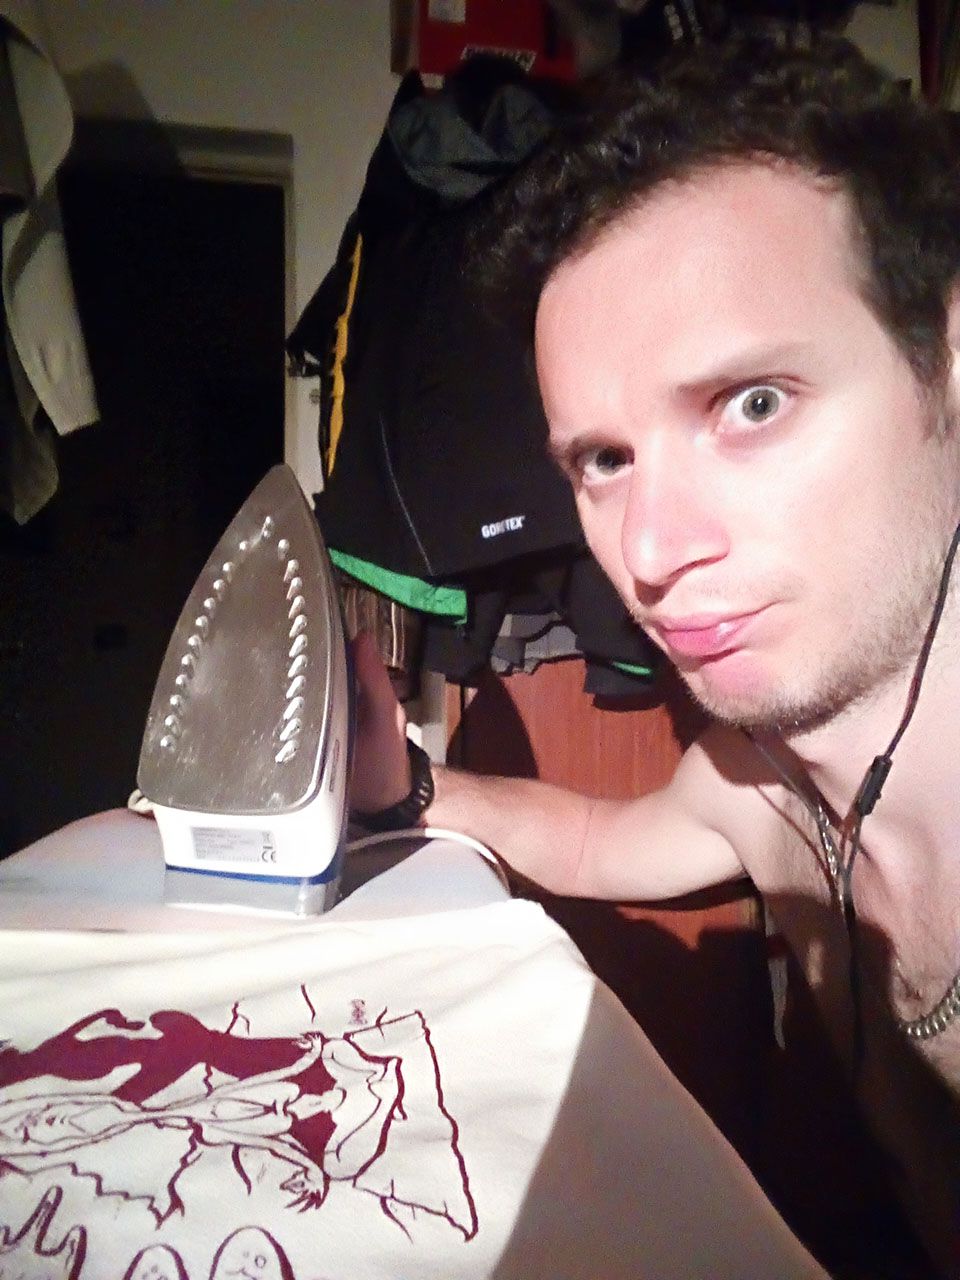
Ironing each print you made for at least 5 minutes ... on both sides!!!
Ah, one last, but important note! After you finished printing, CLEAN the screen and all the other gear BEFORE the paint dries out!If it does, it will cover your print and you may start all over again in making a new one!
Well, I hope it was clear and interesting ... If you might have a question feel free to ask.
Ciao
Milo
amazing dude ,super properly instructions. Respect .
P.s. I have my own screen printing equipment at my place ,I also haven't touch it many years ,but now I want to return into screenprint game ,cuz that was a fun time. ☺☺✔✔ resteemed
Thanks man!I was actually sending pictures to a friend and she couldn't really understand, so while explaining her I thought it would be an interesting read for others as well :))) Gave you a follow and I am curious to ever see one of your works!
I will upvote and resteem your last blog post free to my 35,000+ followers if you reply with the word, "free". Blog posts over 7 days old can not be upvoted or resteemed. a-0-0
This post has received a 3.57 % upvote from @boomerang.
Your Post Has Been Featured on @Resteemable!
Feature any Steemit post using resteemit.com!
How It Works:
1. Take Any Steemit URL
2. Erase
https://3. Type
reGet Featured Instantly & Featured Posts are voted every 2.4hrs
Join the Curation Team Here | Vote Resteemable for Witness
oh wow. I remember you told me about this :D and it is so cool :) the whole process and instructions are easy to follow might try it in the future 😋
Hahaha yes, you should! Its a funny thing to do, and who knows,... perhaps it might even open a business opportunity? ;)