Proof of Tears: Proposed Logo, with Full Minimal Vector Art Tutorial

Making an artwork is sometimes my way to escape reality. It makes me temporarily forget all the problems, stress and negatives vibes around. It is also my way to express my thoughts that I cannot speak out.
So now, here's my latest digital artwork. Minimal Vector Art fresh from Autodesk Sketchbook, an app that can be installed on smartphones. Along with this post is my tutorial on how I made this one.
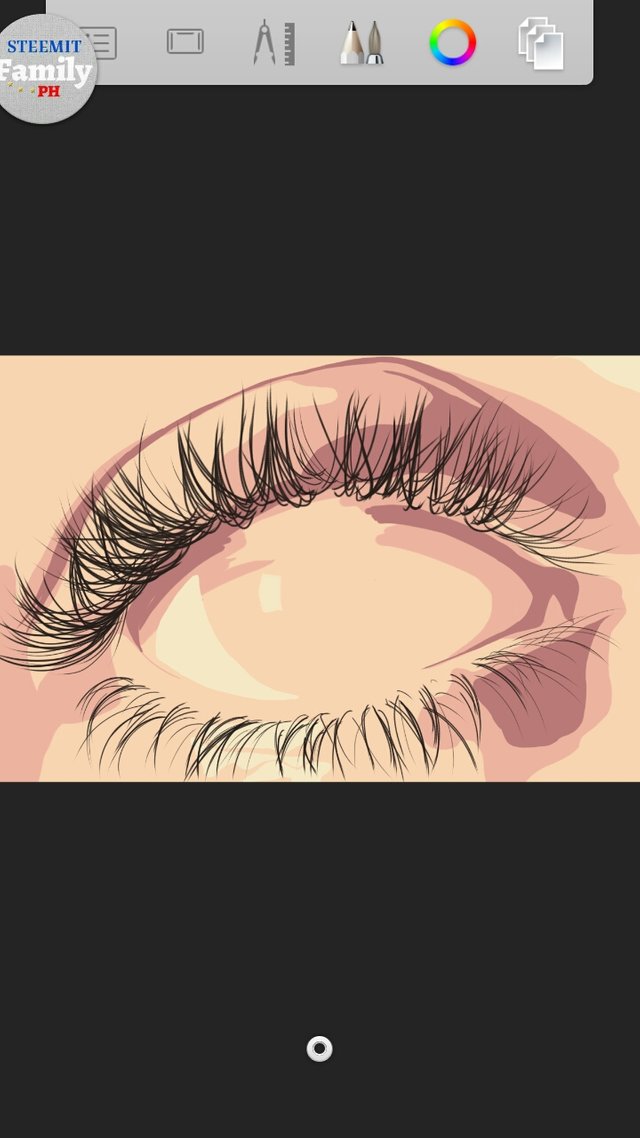
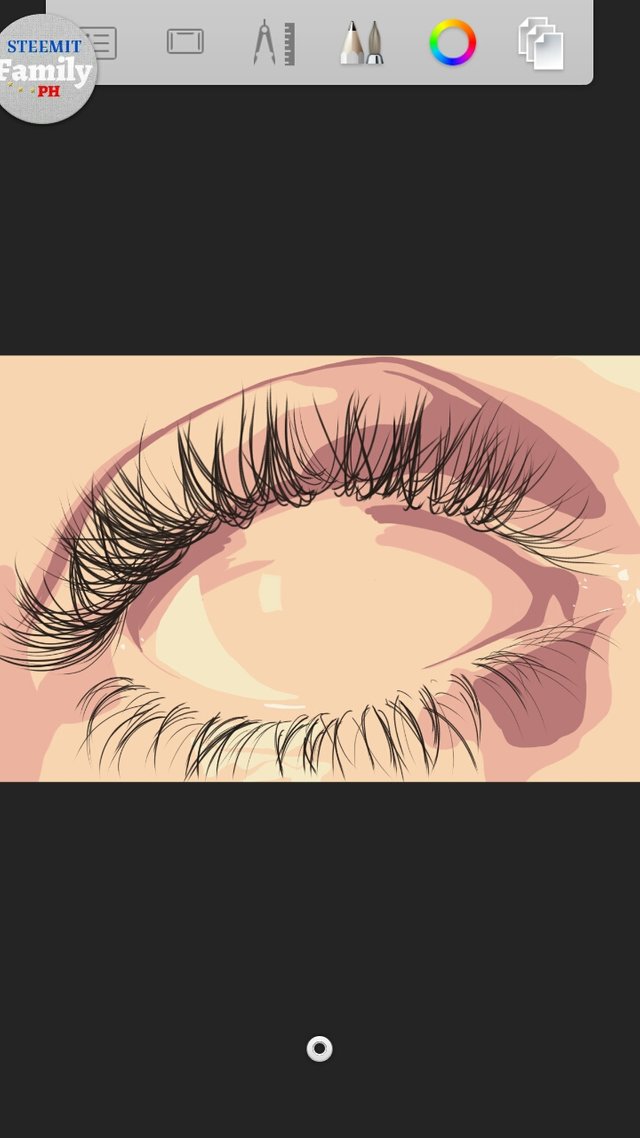
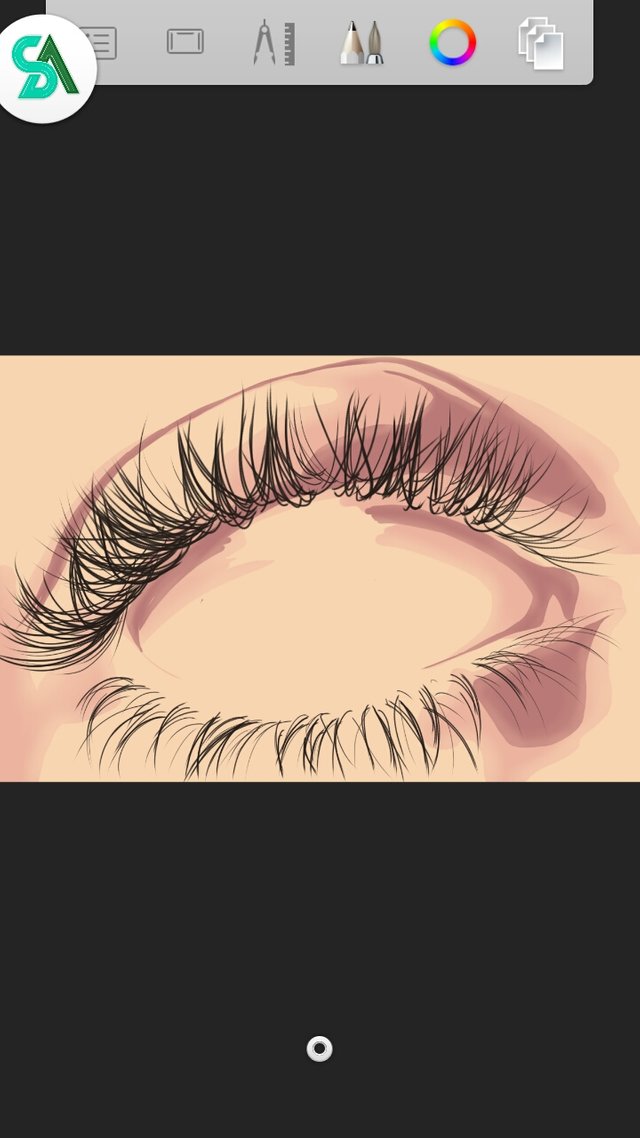
So to start with, make the lashes on one layer. I didn't do much line arts coz I will just have the details through shadings. The lashes shouldn't have to be really arranged. You can have something like in the picture below.
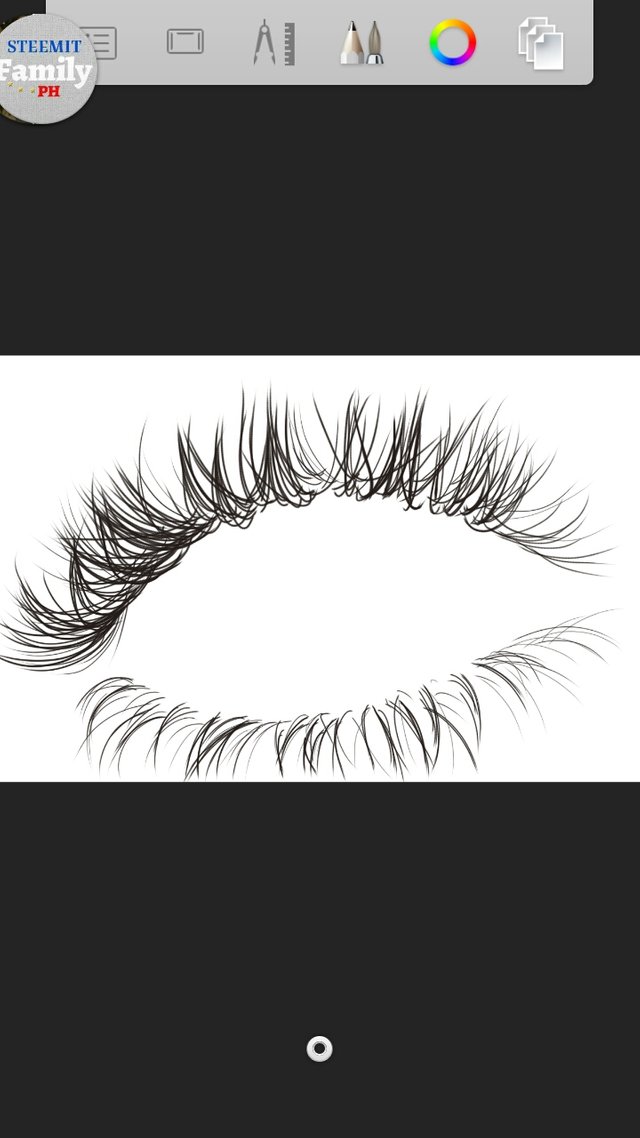
In making the lashes, I used a pencil then I did each strand quickly to avoid shaking.
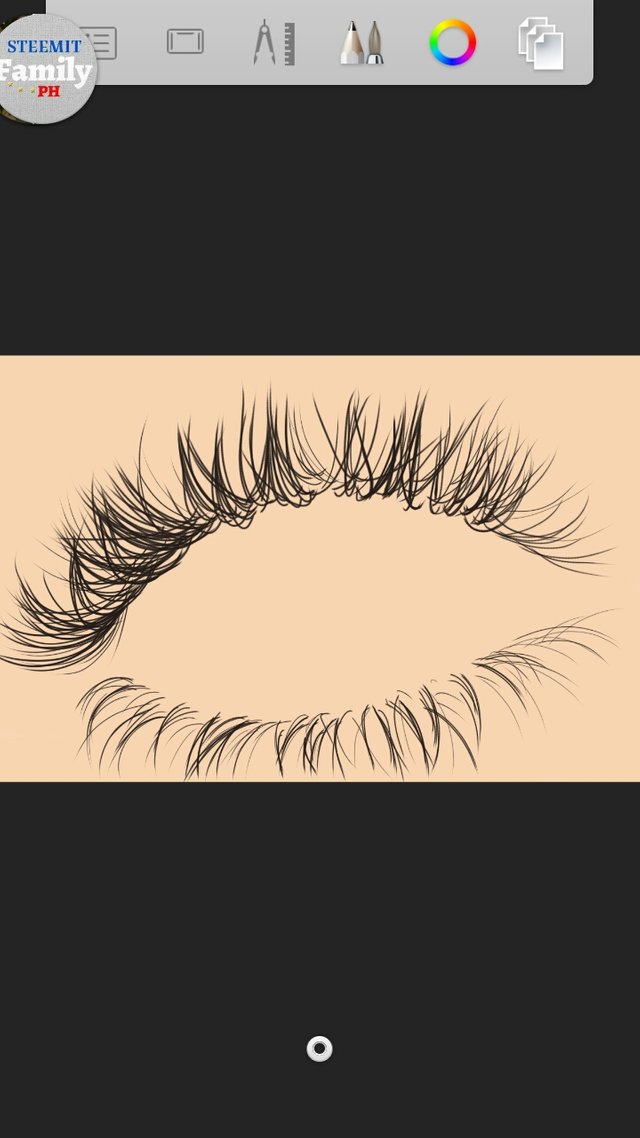
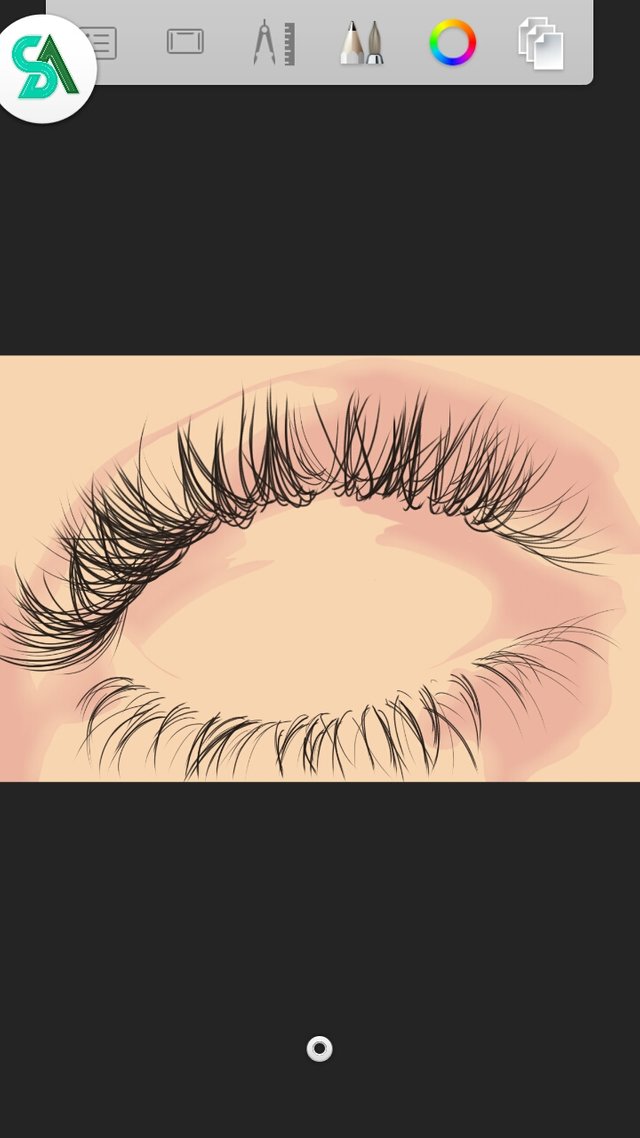
Second, let us make the skin! Note: Do each in different layers so that if you made mistake, other layers wont be affected Choose a skin palette or you can just have your own if you want to. Add layer below the lashes then apply the base of the skin on the entire canvas.
Third, add layer above the base then apply the first shade.
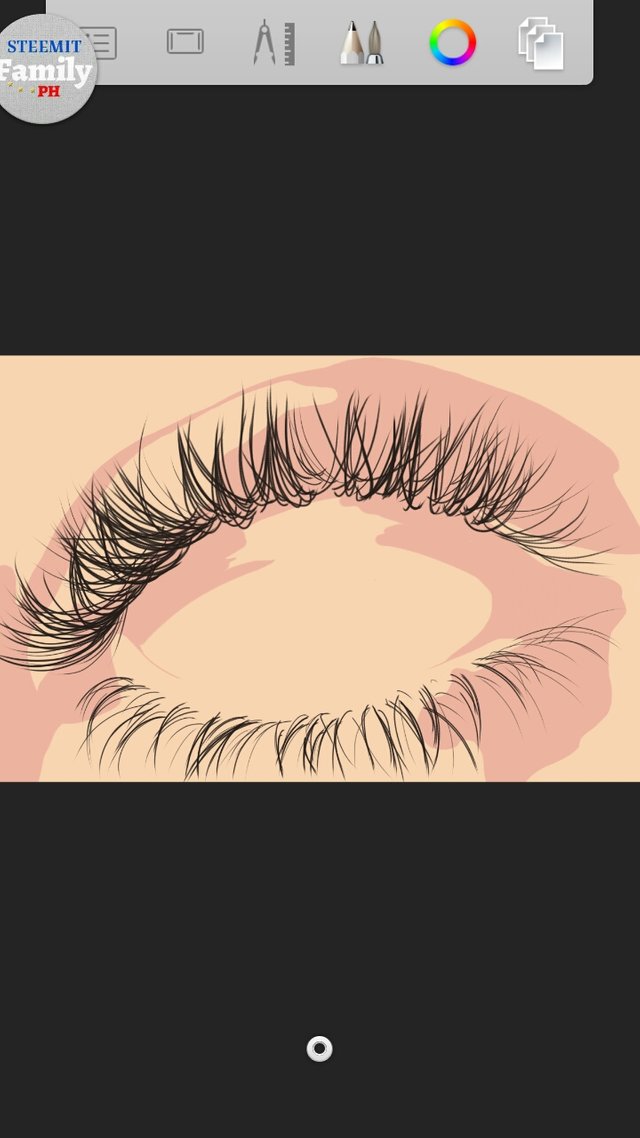
Shaded part is not fixed. It depends on your reference if you have or your imagination. It will just help it not to look flat and more realistic.
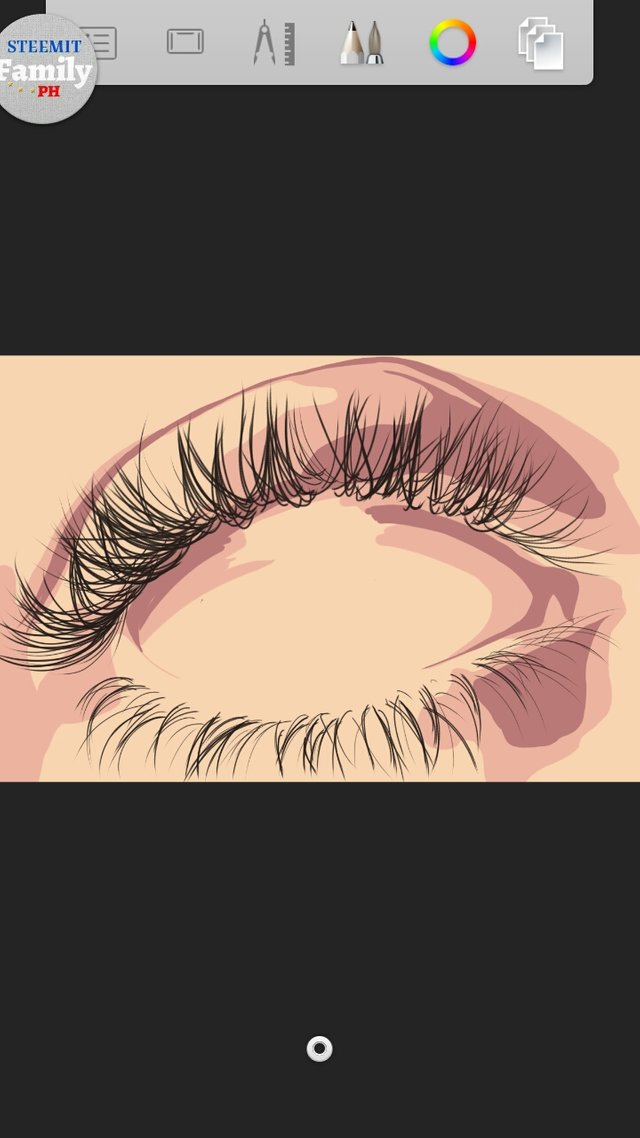
Fourth, add layer above the first shade and apply the second shade. This time it is darker so apply this to deep areas or those that do not have much light.
Fifth, add highlight! To have it, add the lighter color to those parts that have sunlight or those that needs to be highlighted.
Sixth, pick the soft eraser from the tools and soft erase the edge of every shade untill the shades do not look so elevated. Do it to all the 2 shades that was made earlier.


When you already satisfied with it, merge all the skin layers including the base. Do not include the eye lashes in merging.
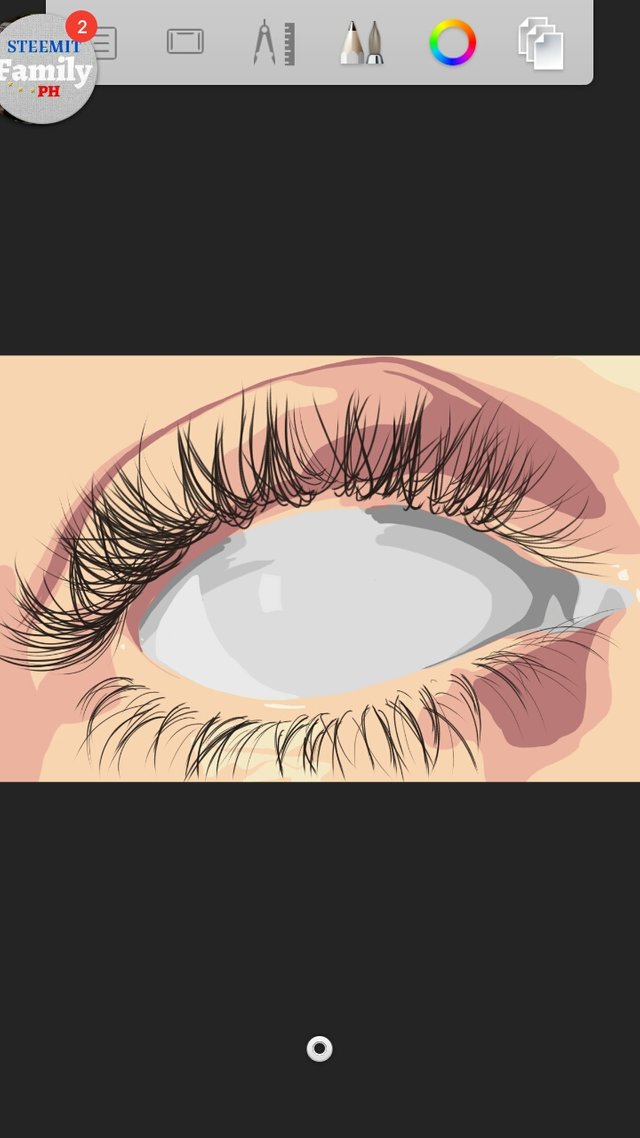
Seventh, let us make the eyeball! So to make it, just add layer above the skin and apply white on the eyes. Set the blending into Color and there! You now have the sclera!
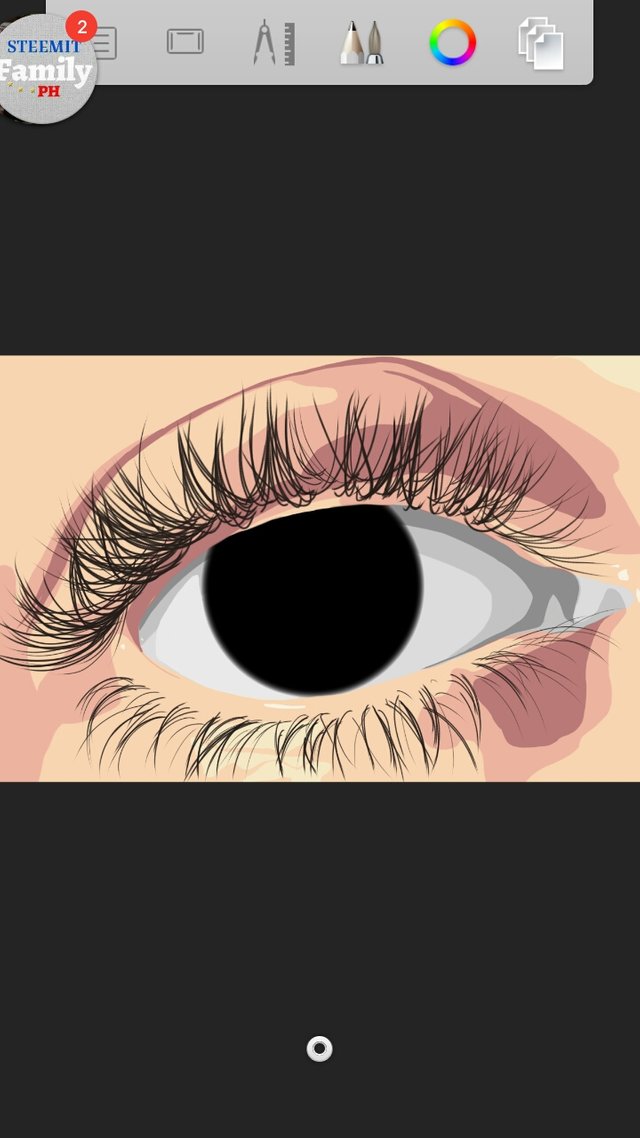
Eighth, let us make the iris! Draw a circle or you can quickly have the circle from the tools. Just explore them. Make sure it is not too big or too small. I usually use color black on this part.
Then add another color of it. Have it on another layer above the black one.

Ninth, add the pupil. It is just a simple filled circle at the center of the iris. You can draw it or use a circle tool to make a perfect circle.
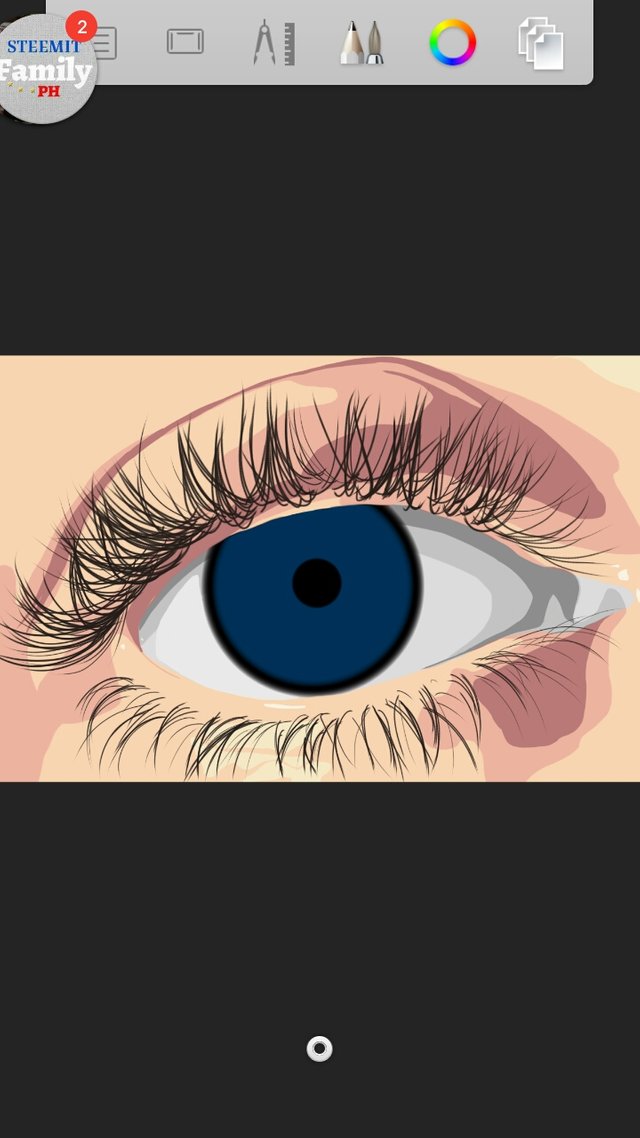
Tenth, add details to your iris.

In my artwork, I just draw small lines around the pupil then I added few yellow lines just for additional details.
Eleventh, add layer then pick the color back. Choose the air brush from the tools then put black at the upper part of the whole sclera then set the layer to multiply
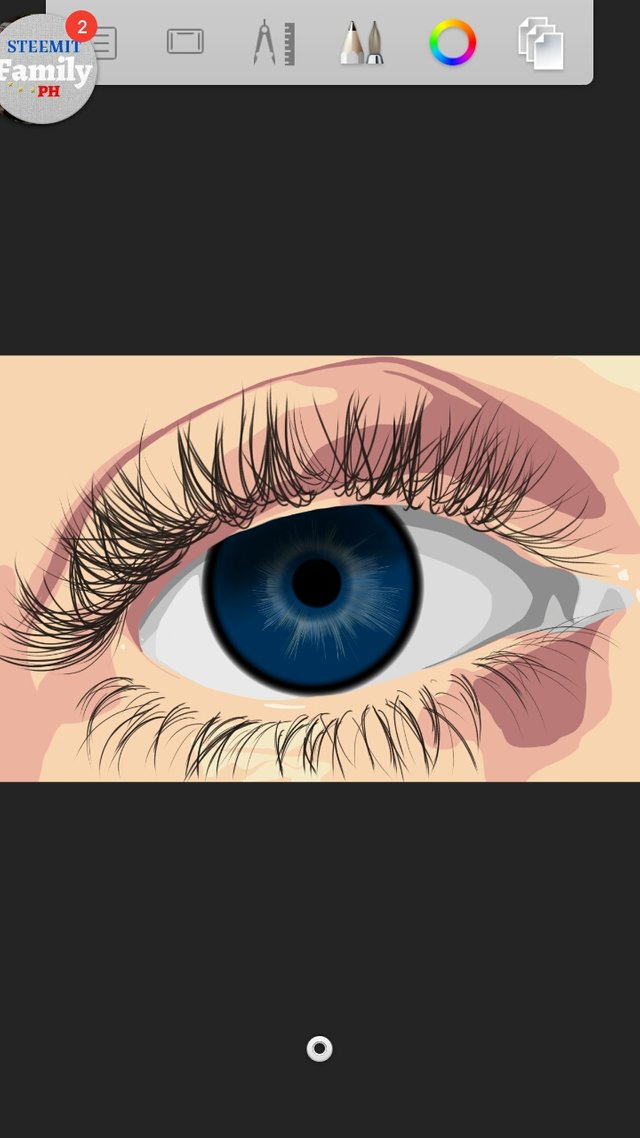
Twelfth, add the light reflections to add life to your eyes. Just do it like in the picture. Then merge it all!
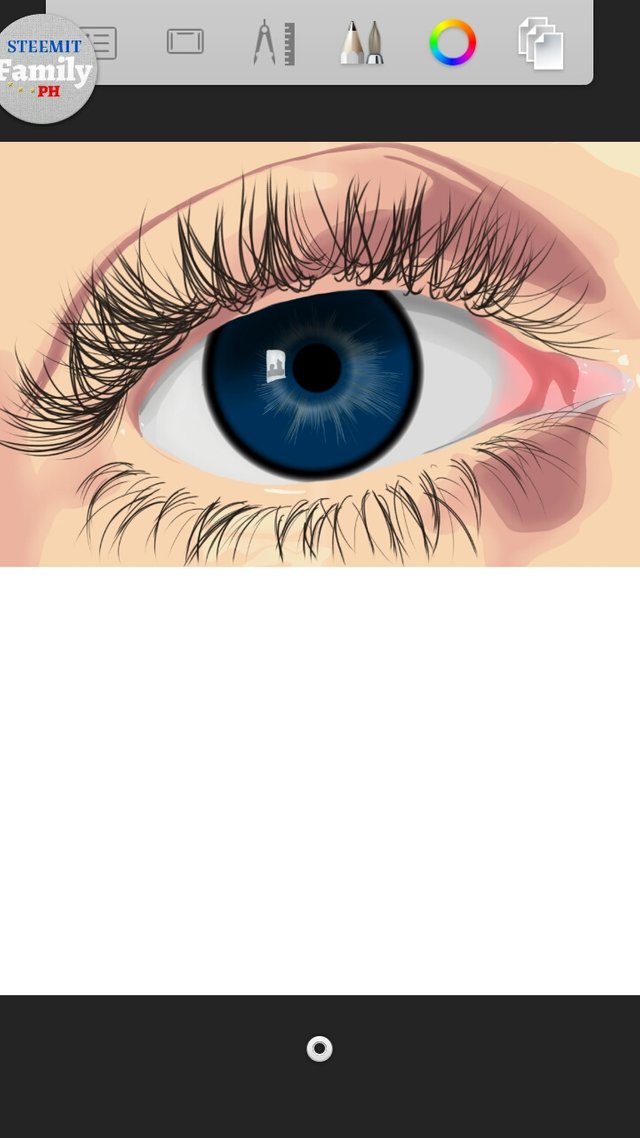
Now your eye is done! Let us now make the token!
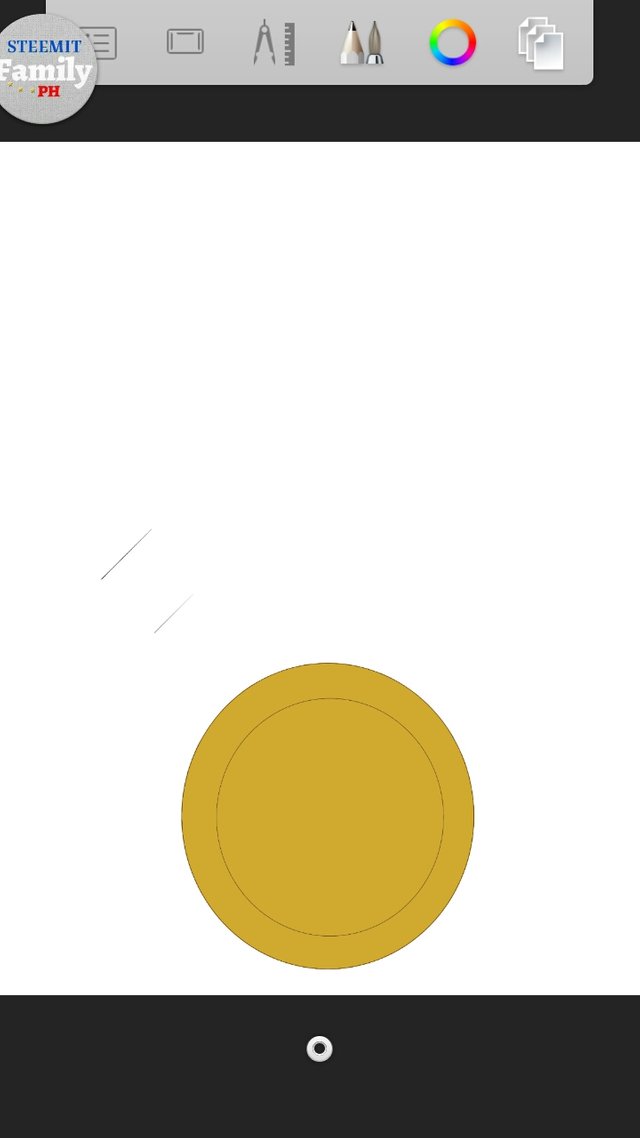
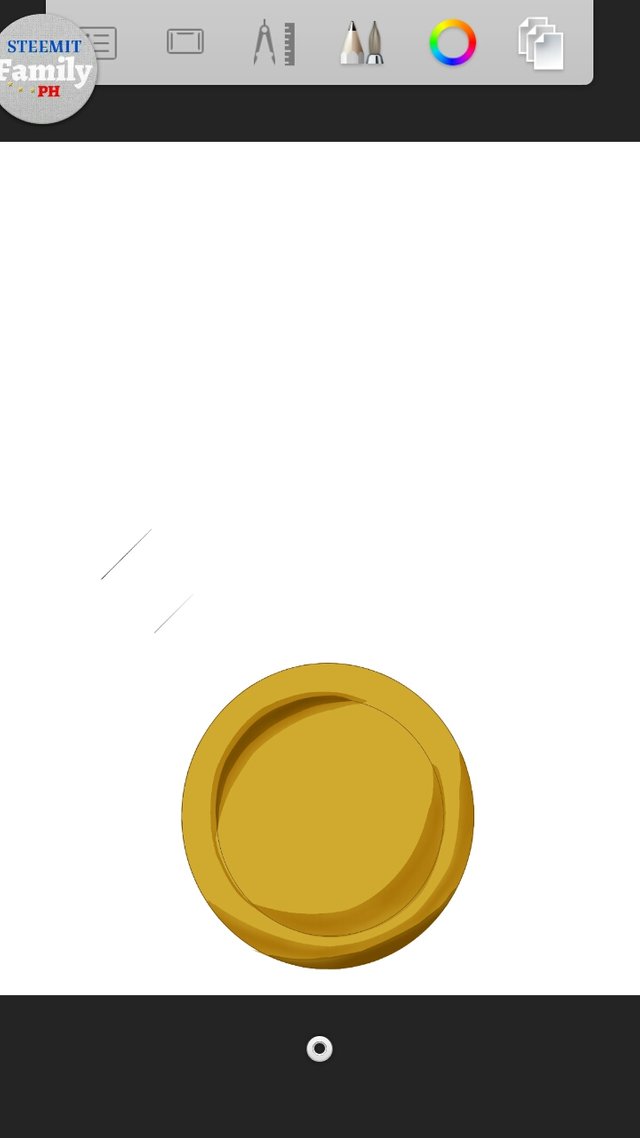
First, I started it in making one big circle and another smaller circle inside as our layout.
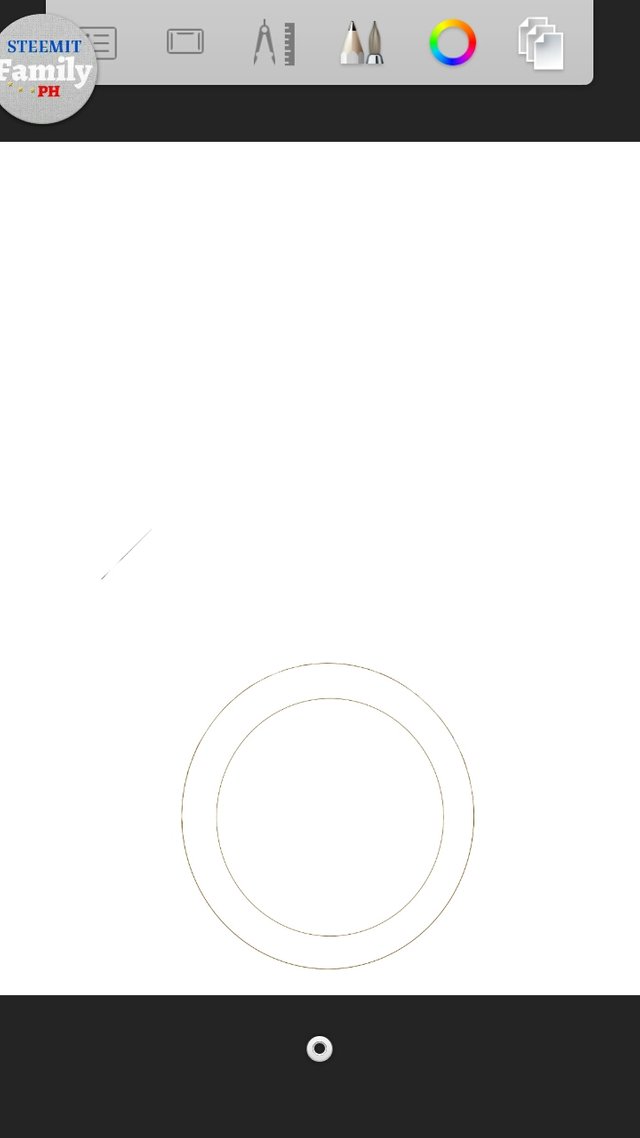
I used a dark yellow color for I wanted this to be a gold token.
Second, add layer below tge layer of those two circles. Fill them with the base color of the token.
I picked lighter color than the one that I used in drawing the layout of the token.
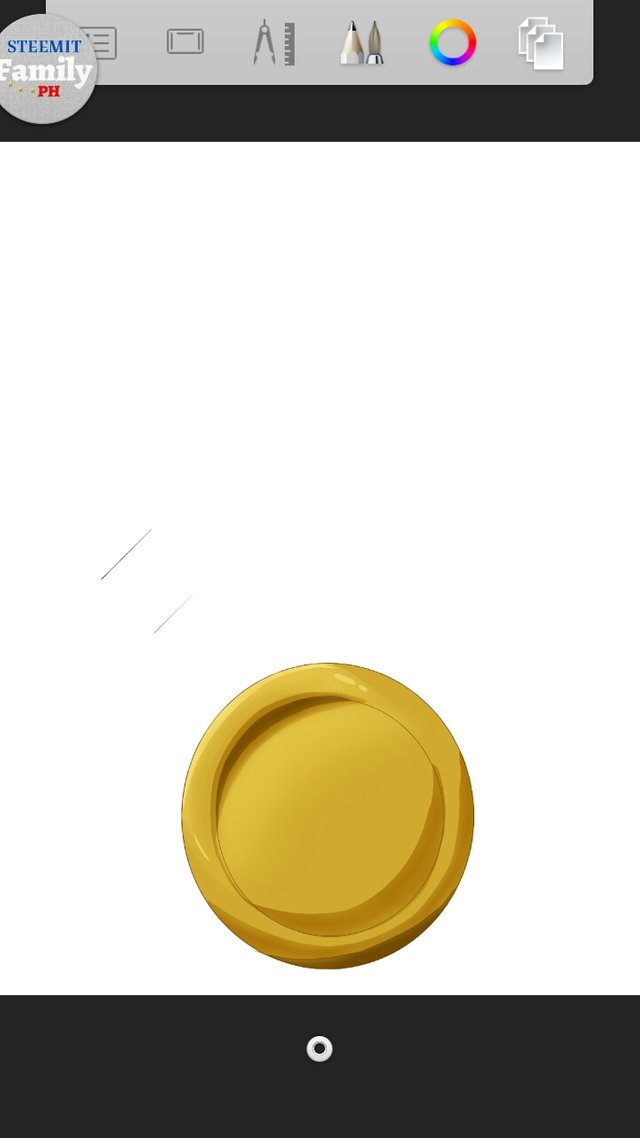
Third, to make it not to look flat, let us add shades! So on the first shade, I picked a darker color than the base color. Color the parts of the circle that needs the shade so that the token wont look flat.
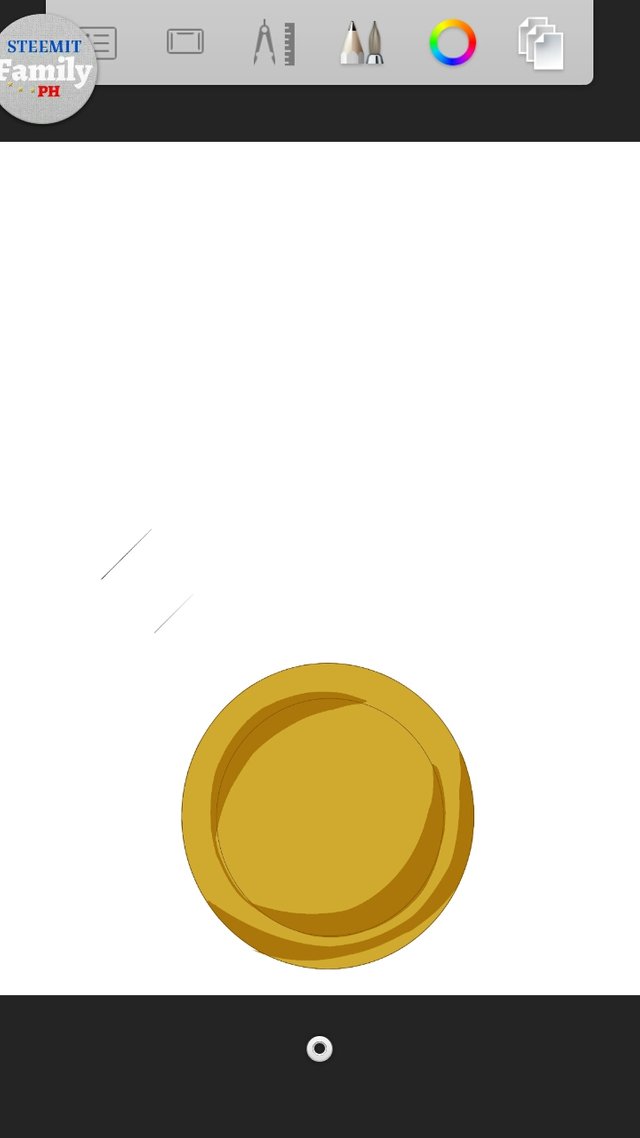
Fourth, add the darkest shade to those deep parts and those shadow parts.

Fifth, add the highlights! It should be the lightest color but within the rage of the shades of color yellow or whaterver color that you are using. Refer to the pic below.
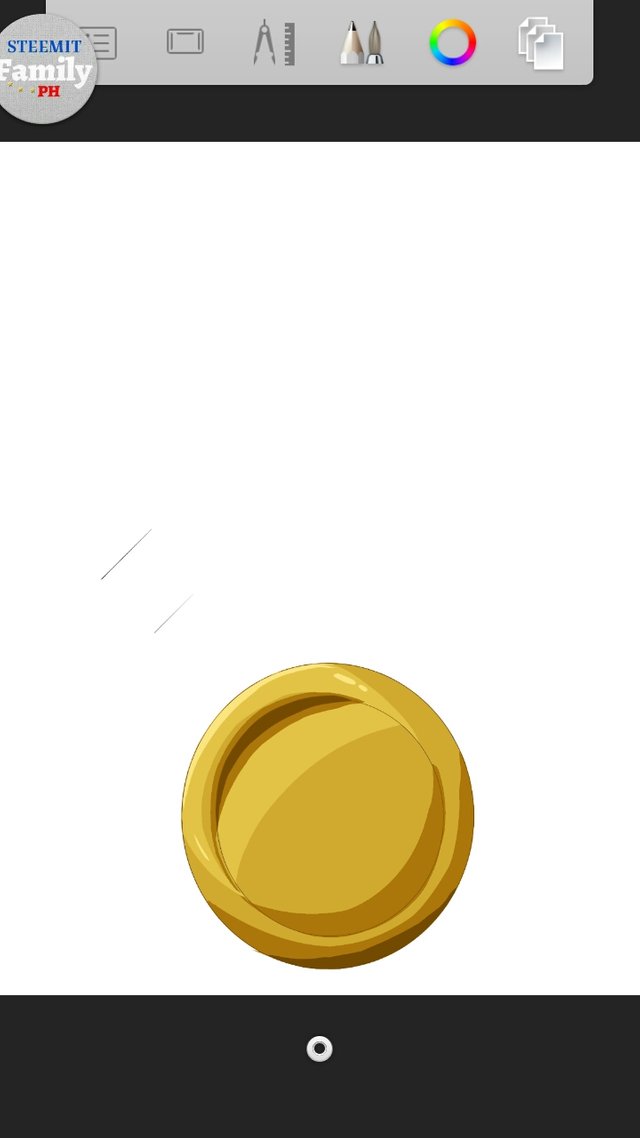
Sixth, the same as what you did on the skin, soft erase the edge of the shades so it wont look so elevated from the base color. Do it until it looks fine already then merge all.
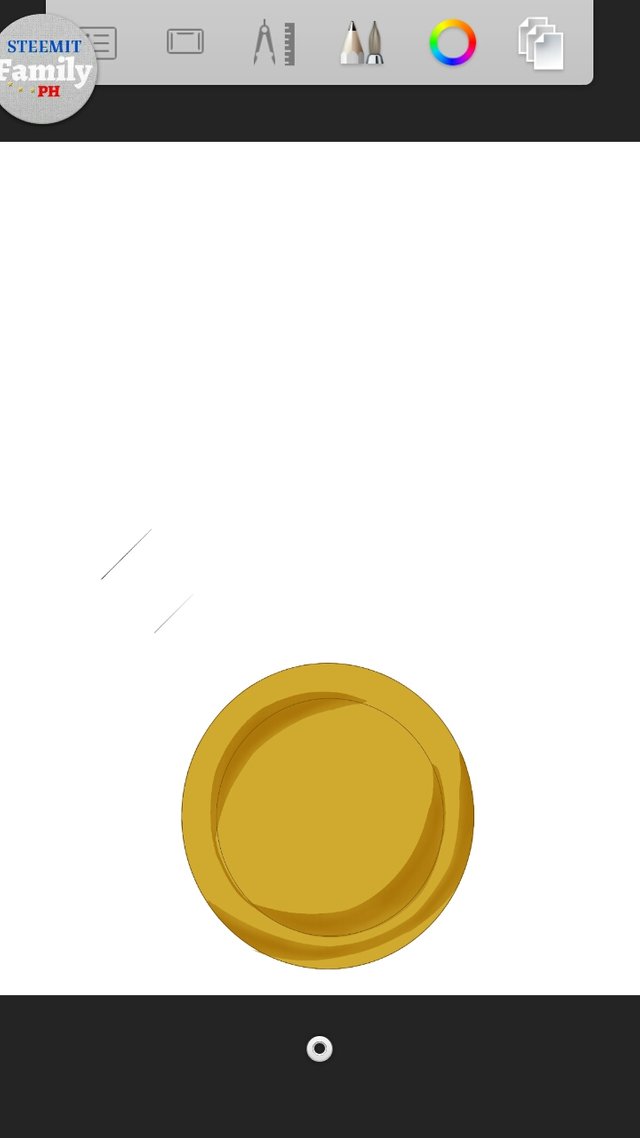
Seventh, add text. Add the words that you want to be in the token.
Im my case, I added Teardrops Token
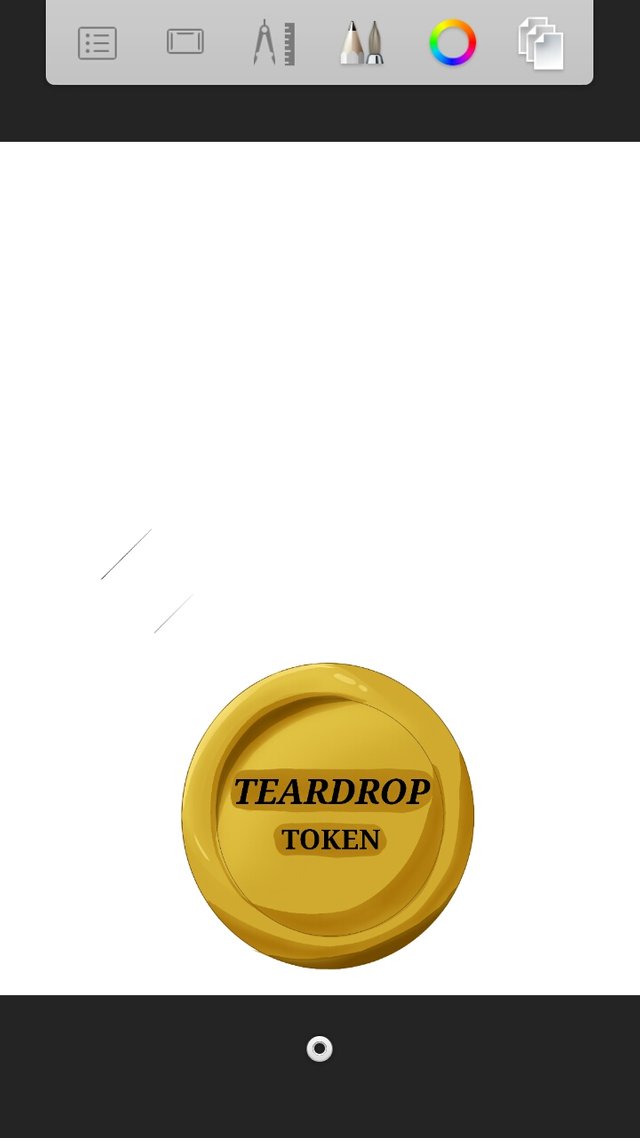
There! You now have the token!
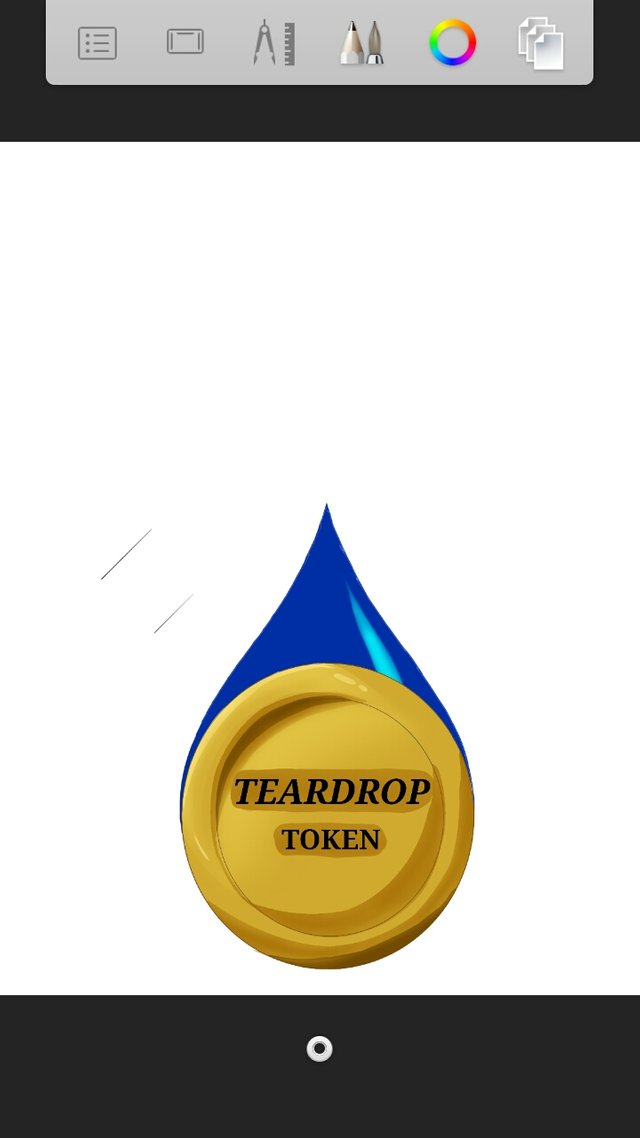
Now, I made the token connected to a tear so I made a triangle connected to it so it will look like a teardrop.
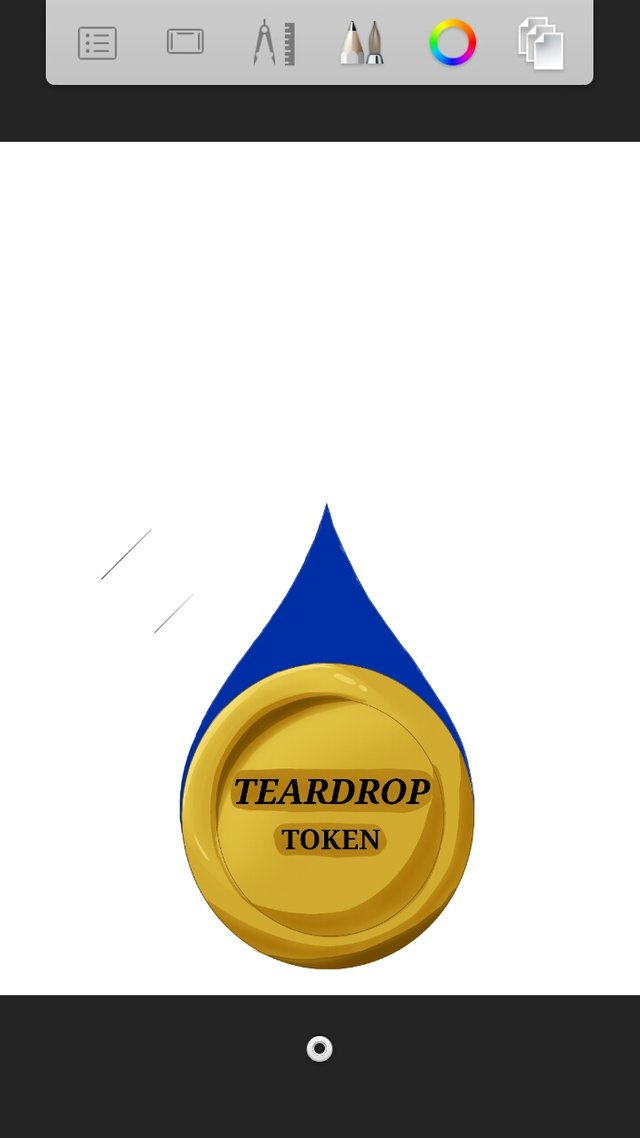
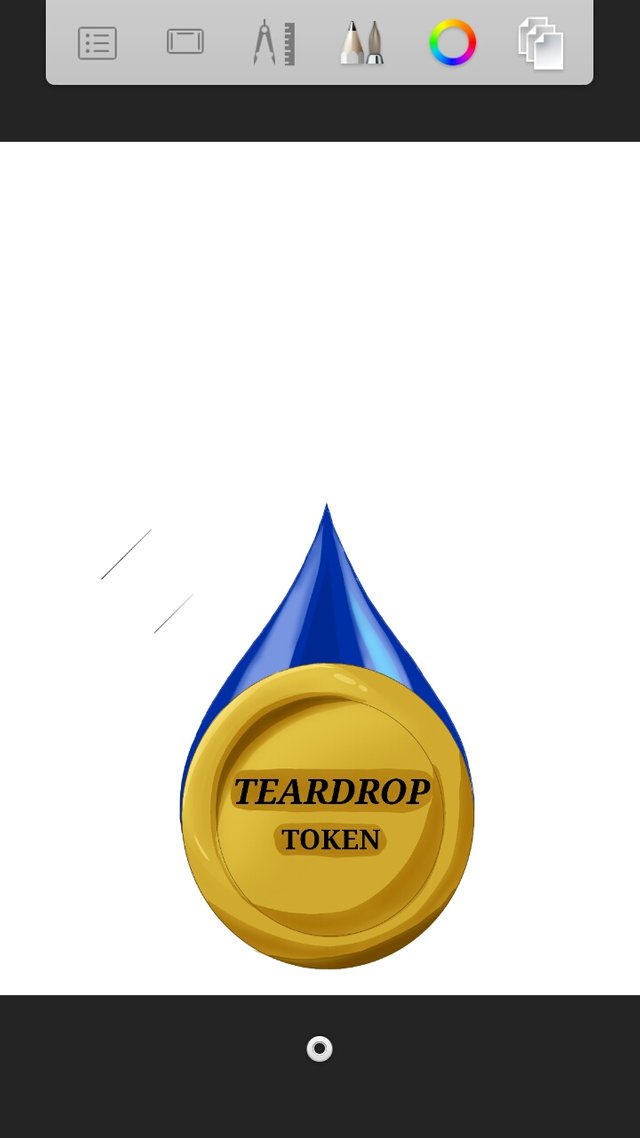
Next, to put life to the teardrop, I added lines with lighter color in other layer. Refer to the pic below.
Now for the background, I made two circles just like what I did earlier with the token. This should be done on another layer. Then duplicate it as many as needed then click the layer and click the third button at the top of the sb then click transform. Put it where you want it to be.
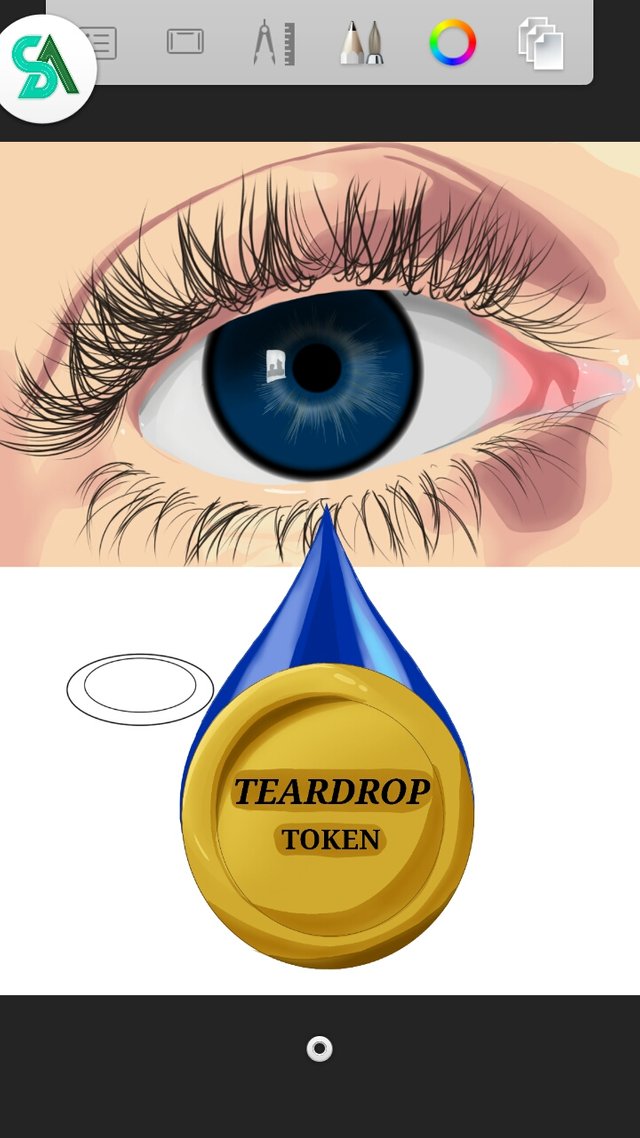
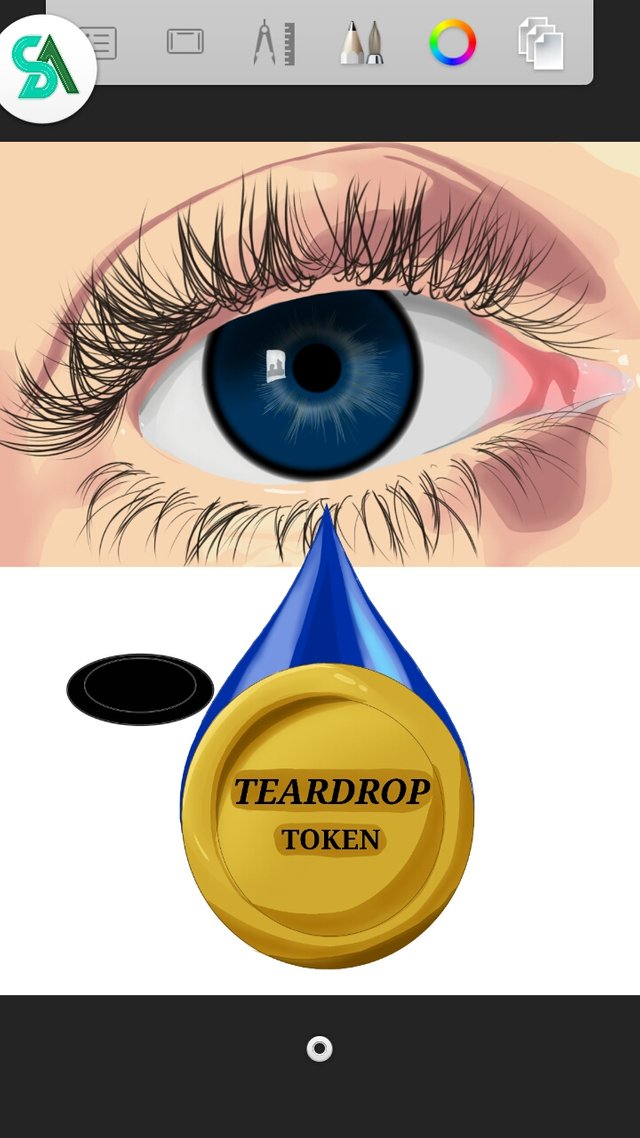
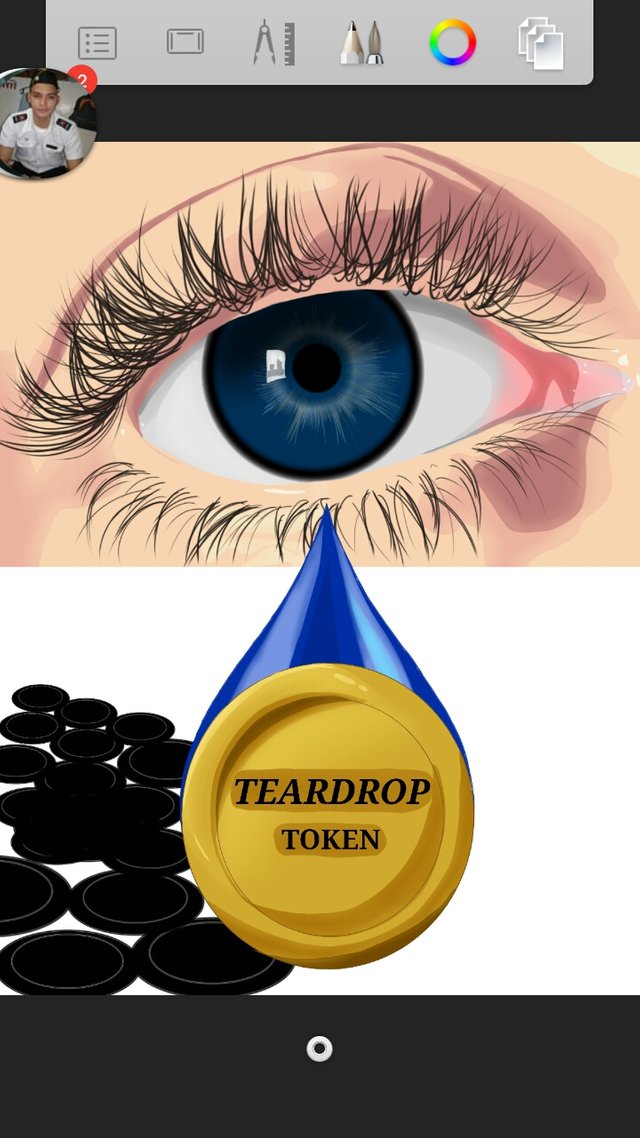
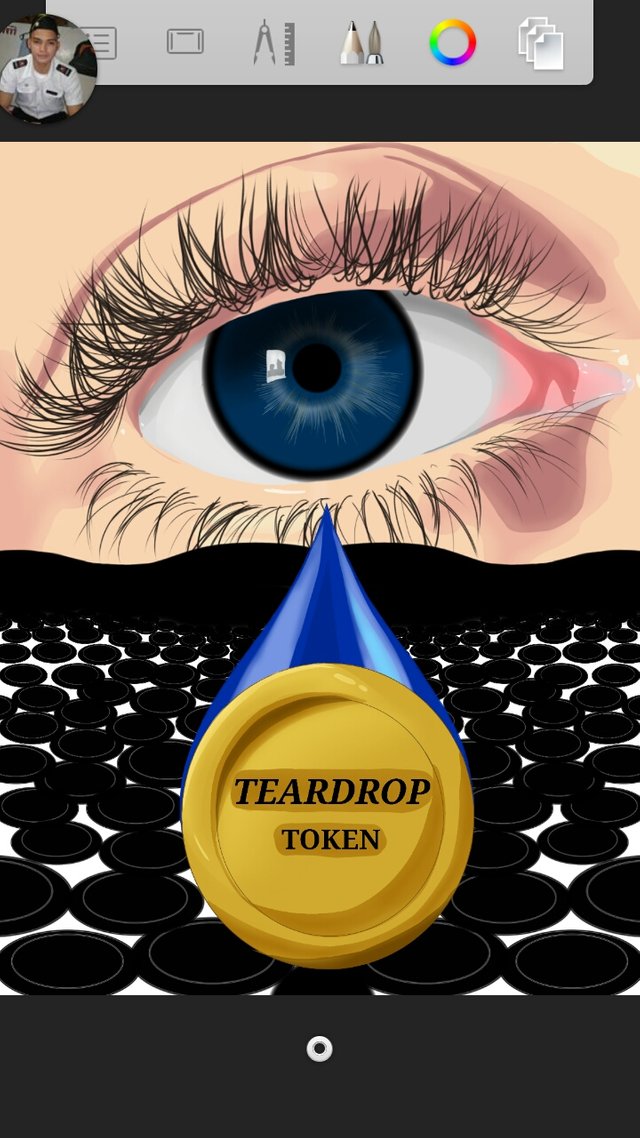
in my case I filed it like it is a field of coins.
Next, I added layer below the field of circles then colored it with dark blue to light blue.
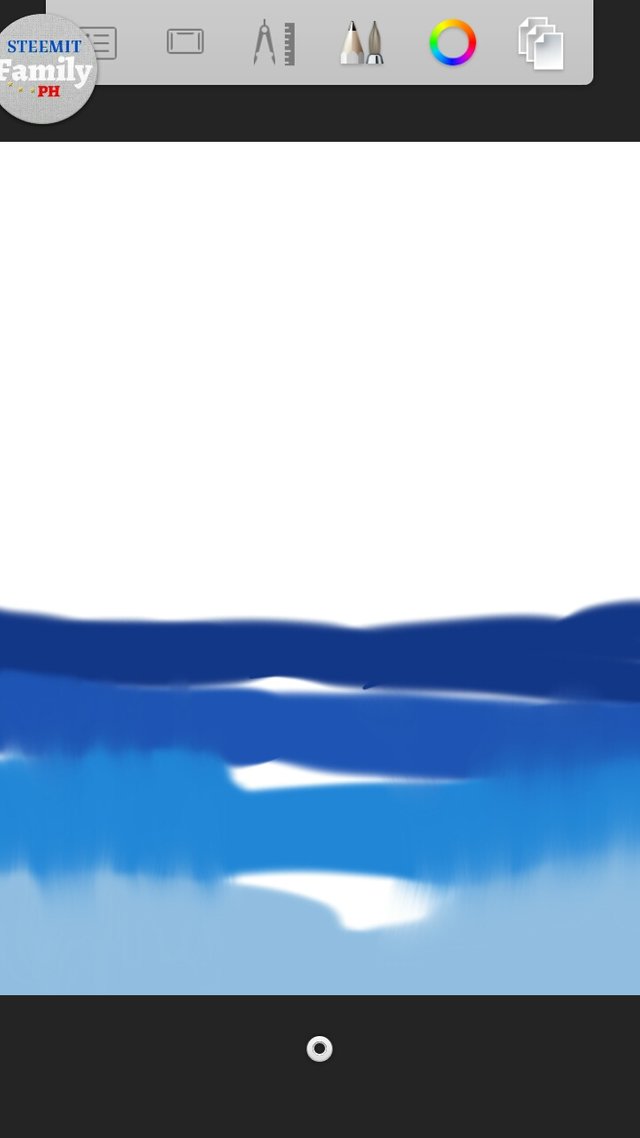
And there! It is now finished!
It may seem hard at first but sooner or later you will be able to do it! Everyone started at the bottom and it is okay to have mistakes. Start making as soon as you can! Who knows it is one of your hidden talents!
A famous line says "A picture speaks a thousand words" so in your opinion, What does this artwork says?
Thank you everyone for dropping by!


Please support the Smart Media Token @teardrop project by Sir @surpassinggoogle and follow TearDrops on Facebook.
Please also support @surpassinggoogle as a witness by voting him at https://steemit.com/~witnesses and type in "steemgigs" at the first search box.
If you want to give him witness voting decisions on your behalf, visit https://steemit.com/~witnesses again and type in "surpassinggoogle" in the second box as a proxy.
eto ba ung na wrong send? ang ganda pala! good job sis!
Yes hahaha! Yong naging commercial kanina hahaha
Good job @allerie! I love the outcome of your work specially the details of the eye :)
Aw thank you so much! :')
Welcome @allerie00. Keep up the good work. Looking forward to your future artwork.
You're true talent, allerie! Everything looks great. I am sure you spent a lot of time on this. Thanks for sharing it with us. Best wishes, Sveto!
It took me more or less 7hours to make it haha! Thank you!
Nice work, It didn't make digital art so much, still using paper and a pencil and paint but this is absolutly something i would wanna try.
Yeey! Yes please try. It's wonderful exploring new things! :)
I will thanks ;)
mavillious amazing gorgious i ma in love with it fabilious job keep it up!
Thank you! :)
Amazing creative work... i very much appreciate you... i will ty this once... thanks for sharing your art... 👍
Looking forward to see your output! :)
amazing design of Tears.
Thank you!
Wowed!! How do made such a good picture on a simple software app that is really amazing please tell me the app name I love to use that. 👍🏻✅
It's a gentle request I am new here I just join by few days ago I take so much time know how steemit works and how people are get many friends I want also please visit my blog and advice me some thing to do that appreciate my hard work please
Its Autodesk Sketchbook App
@allerie00 fantastic Art :) I really appreciate the deatailed instruction I am into graphic designing and I can see your passion in crafted such great art. Keep going mmore tutorial pls. :)
Aw thank you! :) yeah its my way to escape reality for a awhile. :)
Good Tear Drop
Thank you!
Great welcome