Android native app develpment Part 1
Hello everyone! In this series of articles I am going to show the basics of Android app development. The first thing we should consider when deciding to write mobile applications is weather we will focus on a specific platform or generate code for other ones.
If our intention is to have the app available in more than one platform, then we have two alternatives: Making hybrid applications using AngularJS (in which case they will not be real applications, but a kind of mobile web app that will use the device's web browser) or with a language such as React Native that will compile the same source code to generate native apps in the destination platforms.
Nevertheless, that is not the focus of this article. Here we will learn how to code real native Android applications, using Google's official development environment, known as "Android Studio". We are going to use its latest version available to date, named 3.0 Canary.
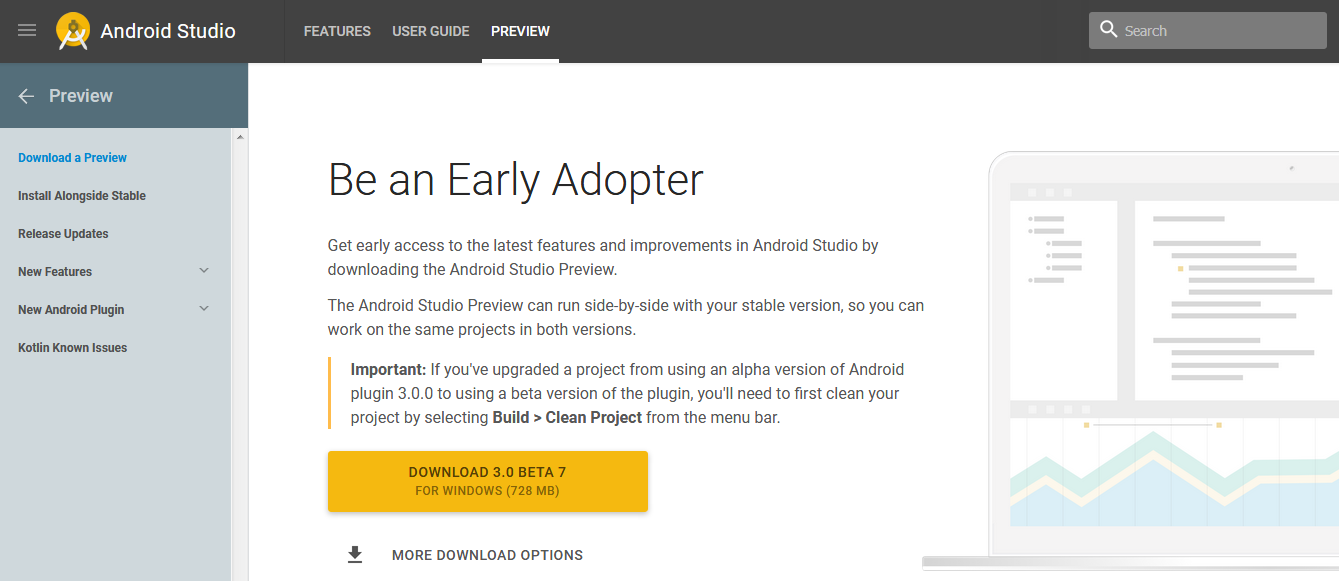
To begin with, lets download the zip package by pointing our browser to https://developer.android.com/studio/preview/index.html and pressing the download button:
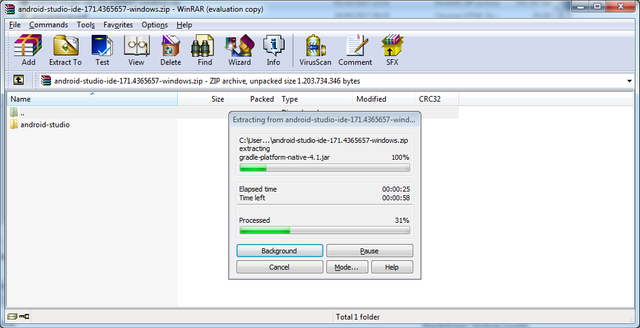
After the zip file download has finished, we are going to extract its contents into some folder:
The next step is to create a shortcut for the AndroidStudio executable. Just go to bin folder inside the directory where you extracted the zip file (for example "E:\android-studio\bin"). Look for "Studio.exe" or "Studio64.exe" file, depending of your operation system version (32 or 64 bit). Create a shortcut for this file in your desktop or taskbar.
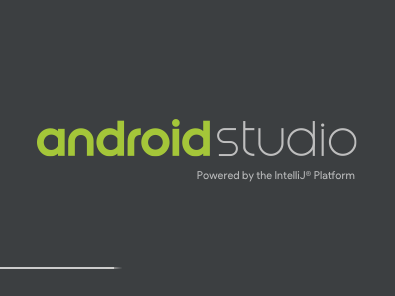
Then just click the shortcut to start Android Studio. It will show the screen below while loading:
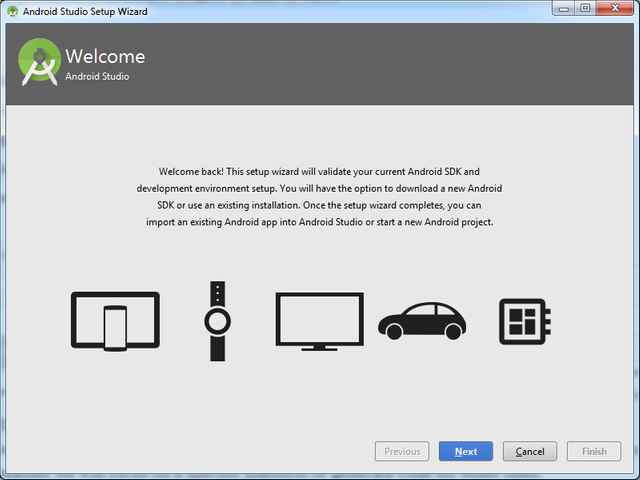
After that you will see an welcome screen. Just press Next button:
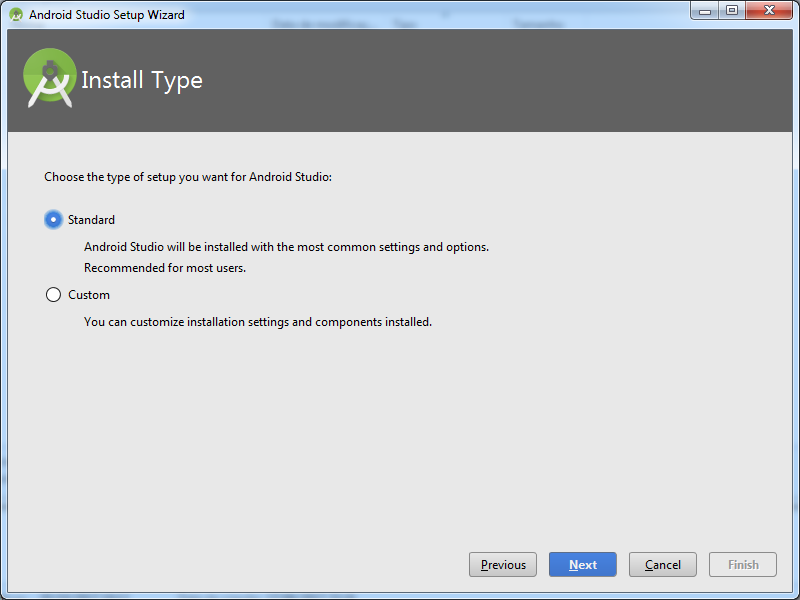
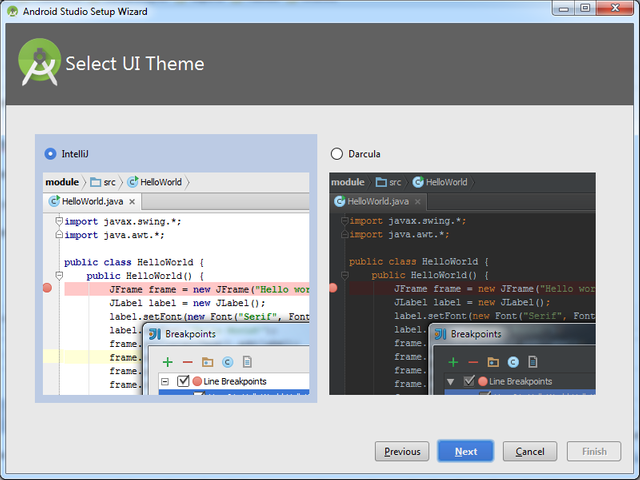
Leave all the options as default in the screens that follow. Just press Next button:
Finally, press Finish button to exit from the installation wizard:
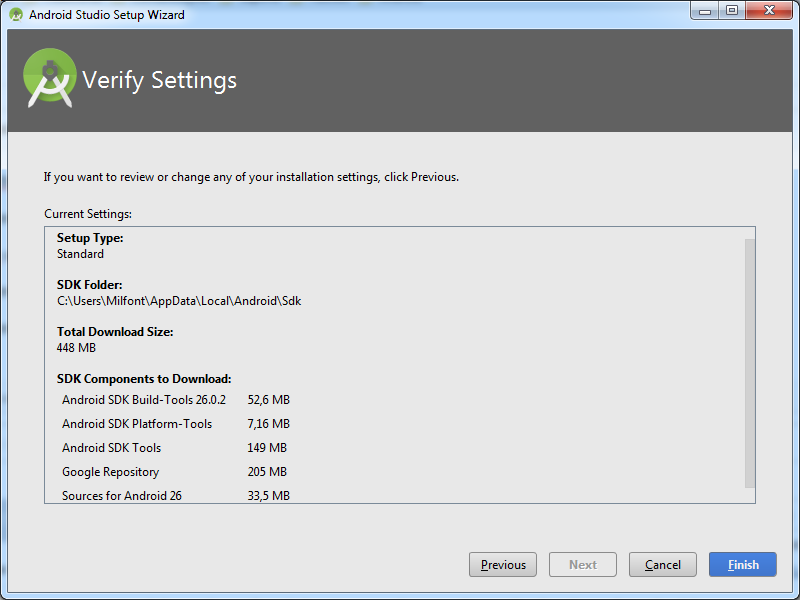
It will then download needed components for first setup. This may take a while, depending on your Internet connection.
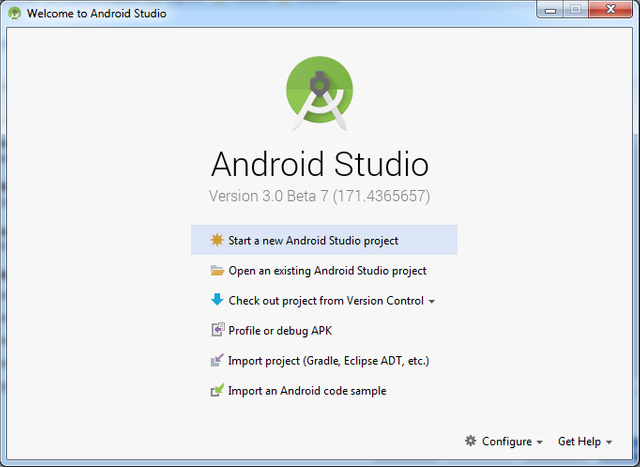
If you see the "Welcome to Android Studio" screen, then the installation was successfull. In today's article we've learned to install and setup the basic environment needed to create native Android applications. In part 2 we will learn how to start our very first project. That's it for today. Hope you have enjoyed. Stay tuned!